Thank you for purchasing the Sound Study Modular Dirty Video Mixer!
ATTN: Please follow the BOM and these instructions. Don’t populate from the PCB silkscreen or these instruction pictures alone. Our components may look different from the pictures, so please look over your parts and check the codes first.
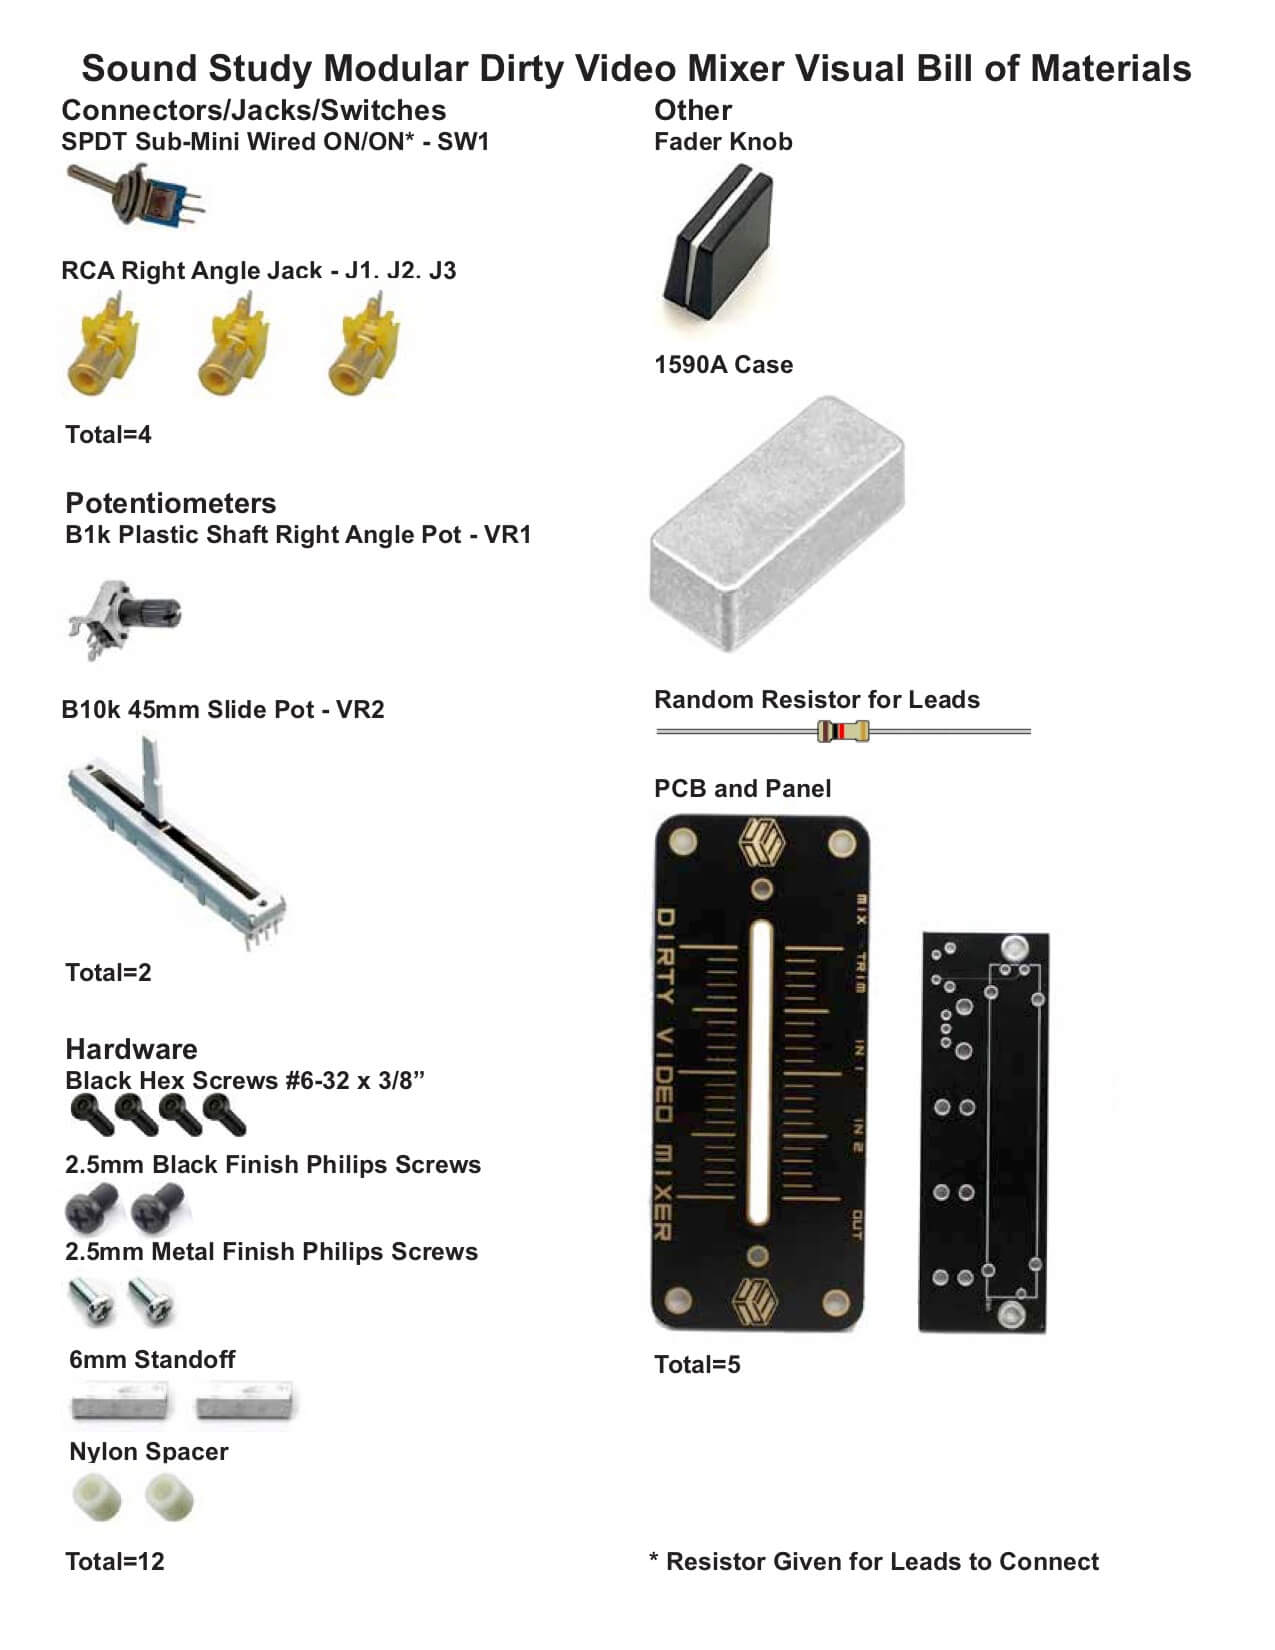
For a bill of materials with Mouser part numbers, click here.
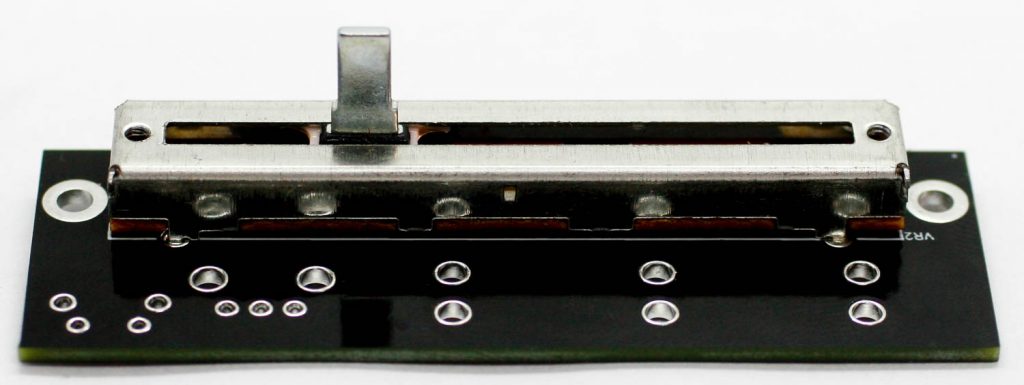
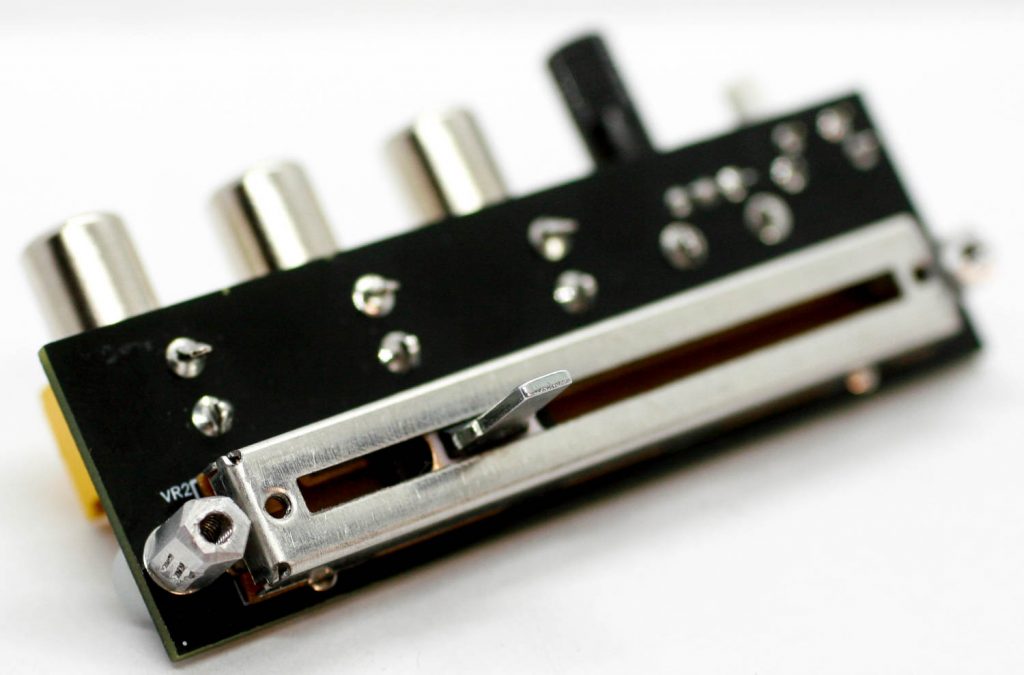
SLIDE POT
Place the slide potentiometer into the PCB as shown below. Carefully turn the board over and solder the pot in place.
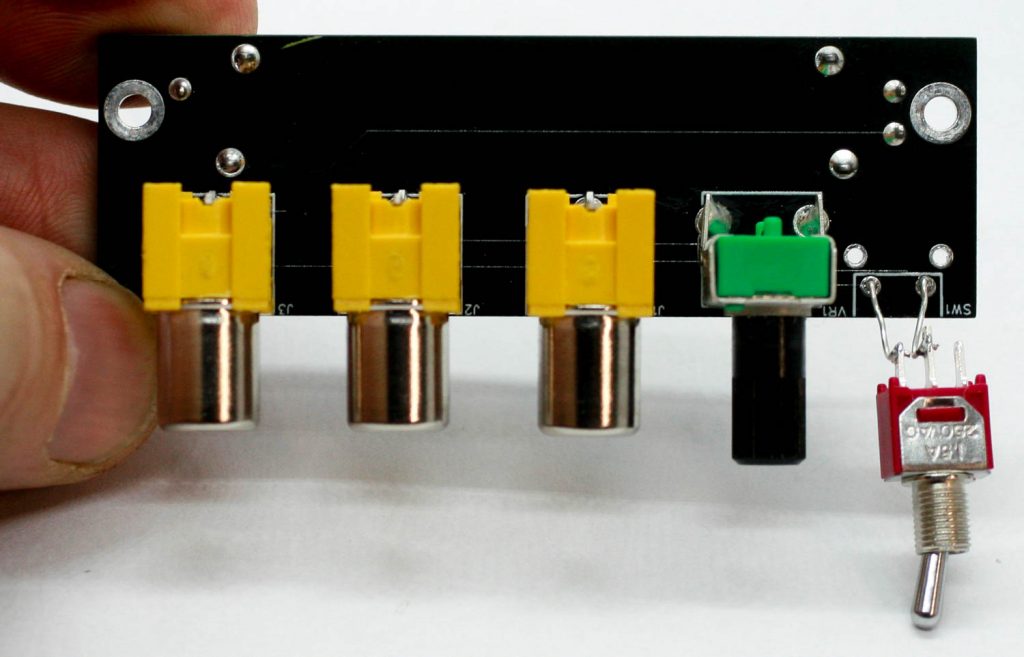
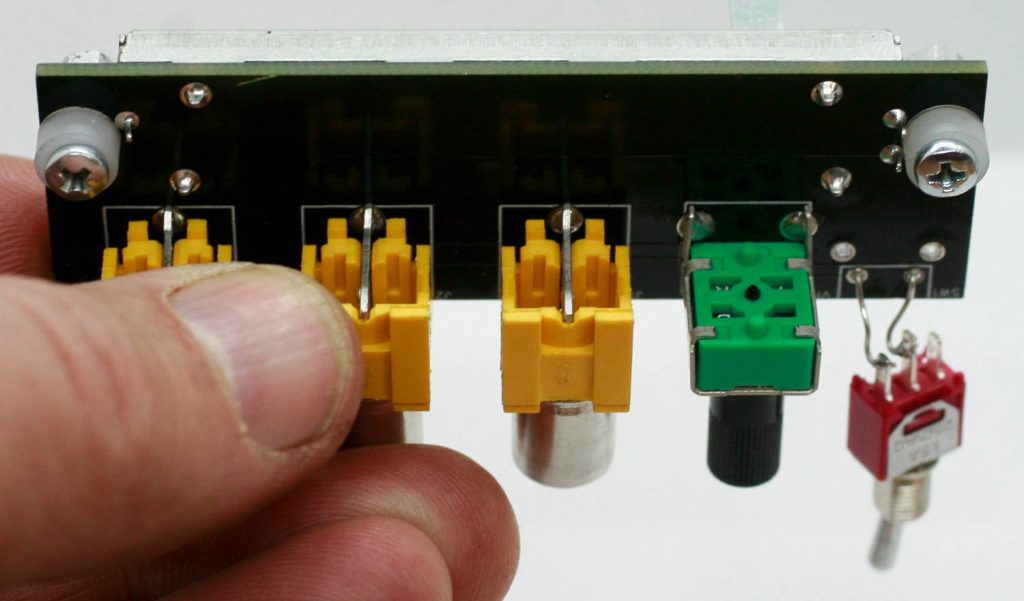
POTS, JACKS and SWITCH
Place the RCA jacks, potentiometer into the PCB, turn over and carefully solder them in place. Solder one leg first so that you can adjust the angle of the components. Next, take the resistor lead clippings and solder them to the switch as shown below. Place these components very carefully as to keep them 90 degrees from the PCB. Make sure to not be sloppy!
STANDOFFS
Screw in the two silver screws though the plastic spacers then through the PCB then into the standoffs.
Now take the black screws and the panel and attach the panel to the standoffs.
CASE ASSEMBLY
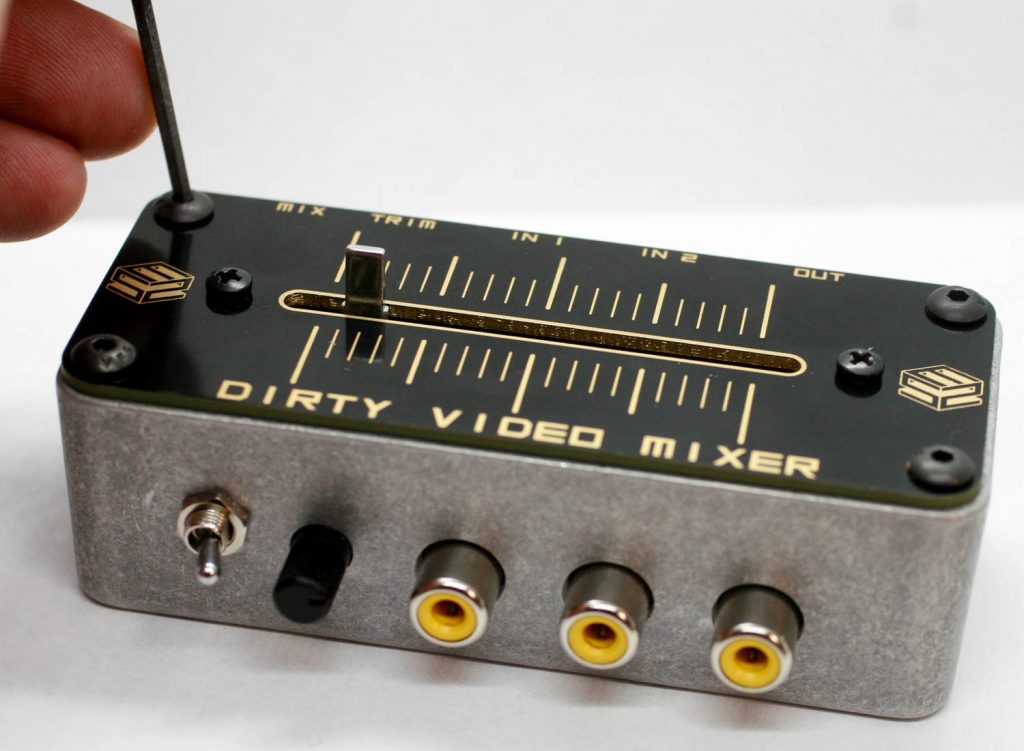
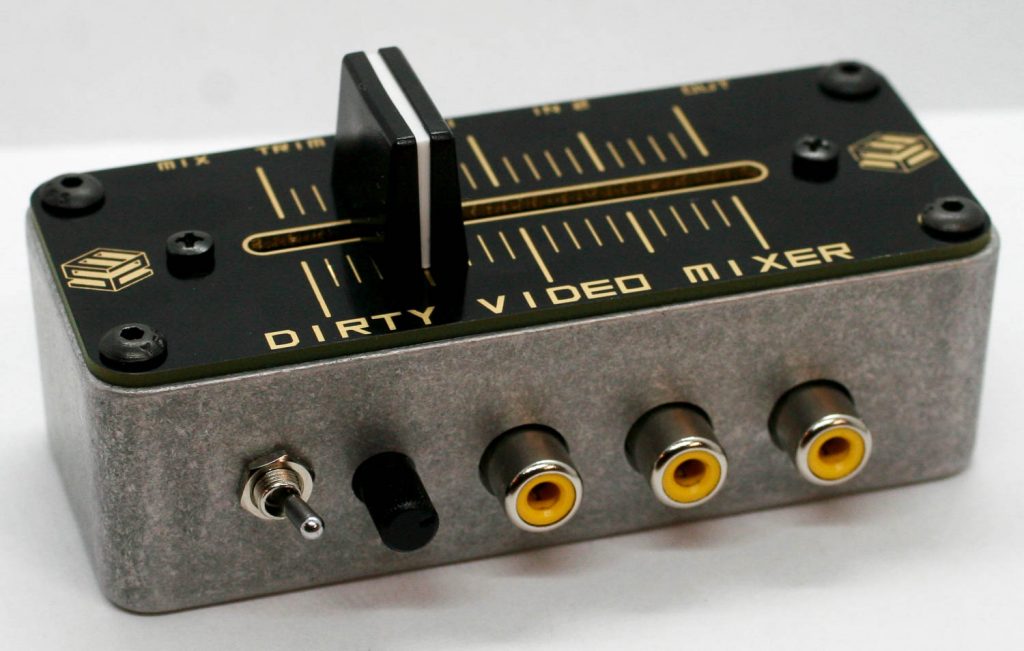
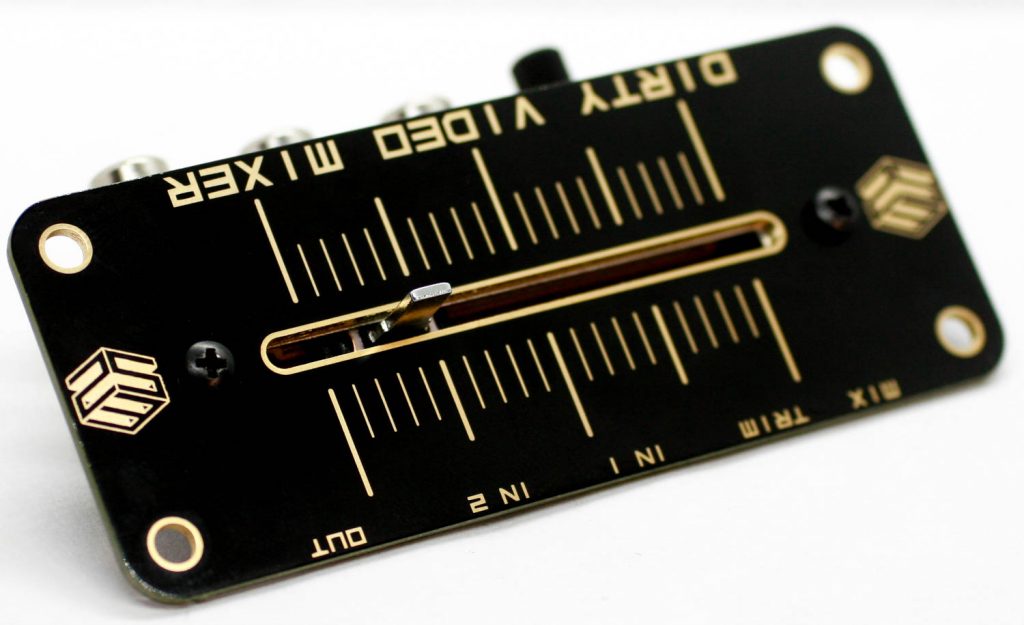
Now take the project and place it into the metal case as shown below.
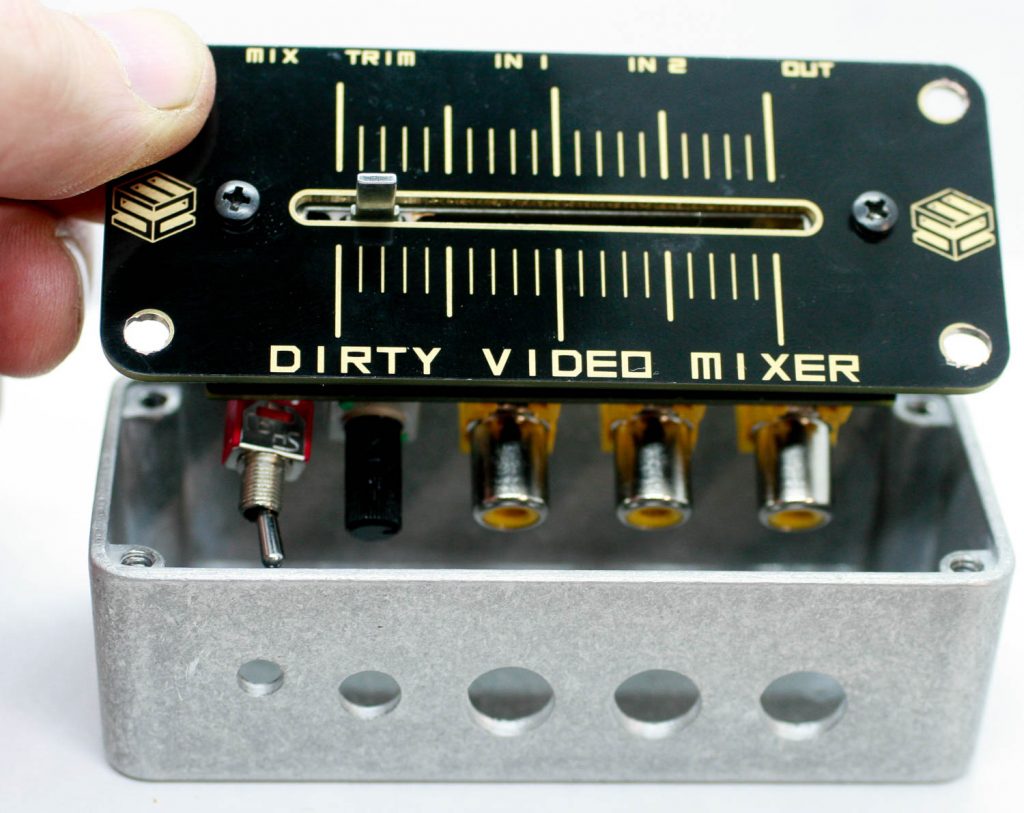
One the project is carefully placed into the case, screw in the four hex-head screws to secure the project together. Next, place the slide pot knob on the slider and you are ready to mix some dirty glitch video!