Important note: This is a guide to assembling our finish-it-yourself kit. It does require soldering. The SMD parts are already populated, and the firmware is pre-programmed.
More information about Norns Shield here.
Click here for a bill of materials with part numbers.
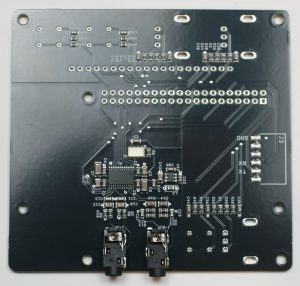
STEREO JACKS
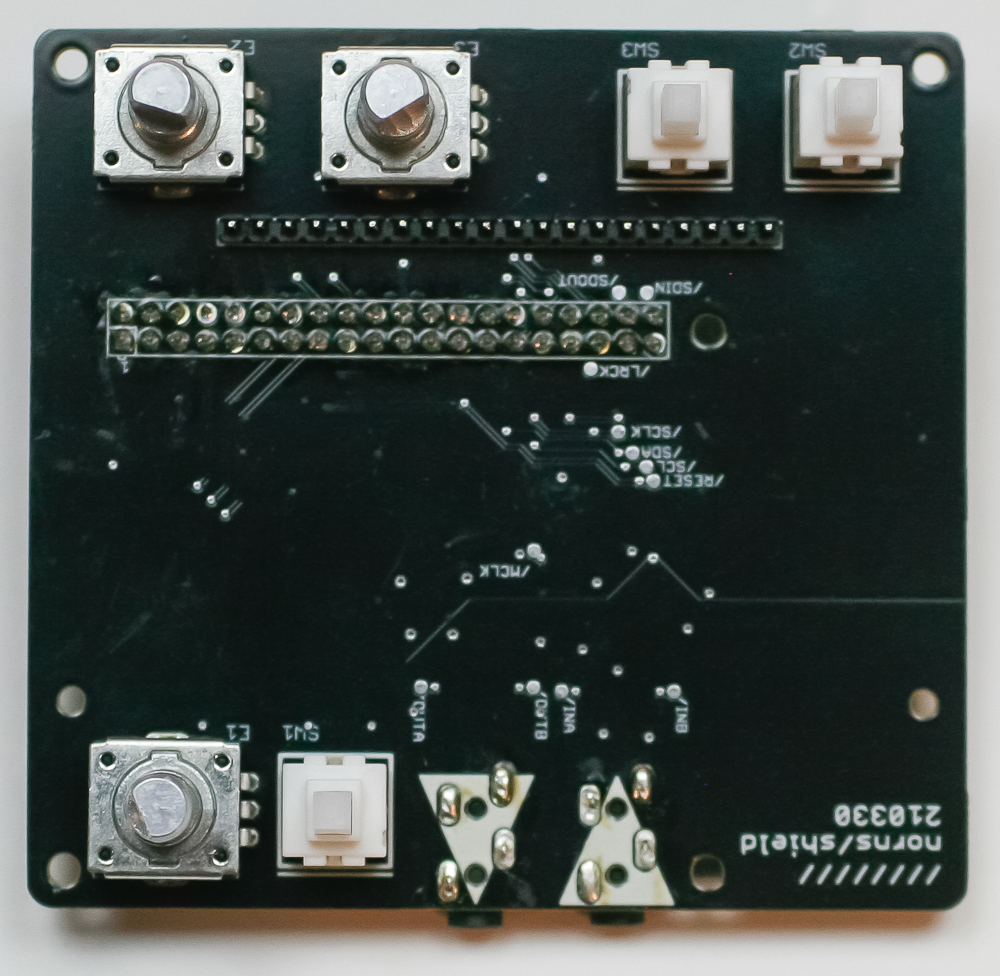
Place the two stereo jacks into the PCB as shown below. Turn over and solder in place.
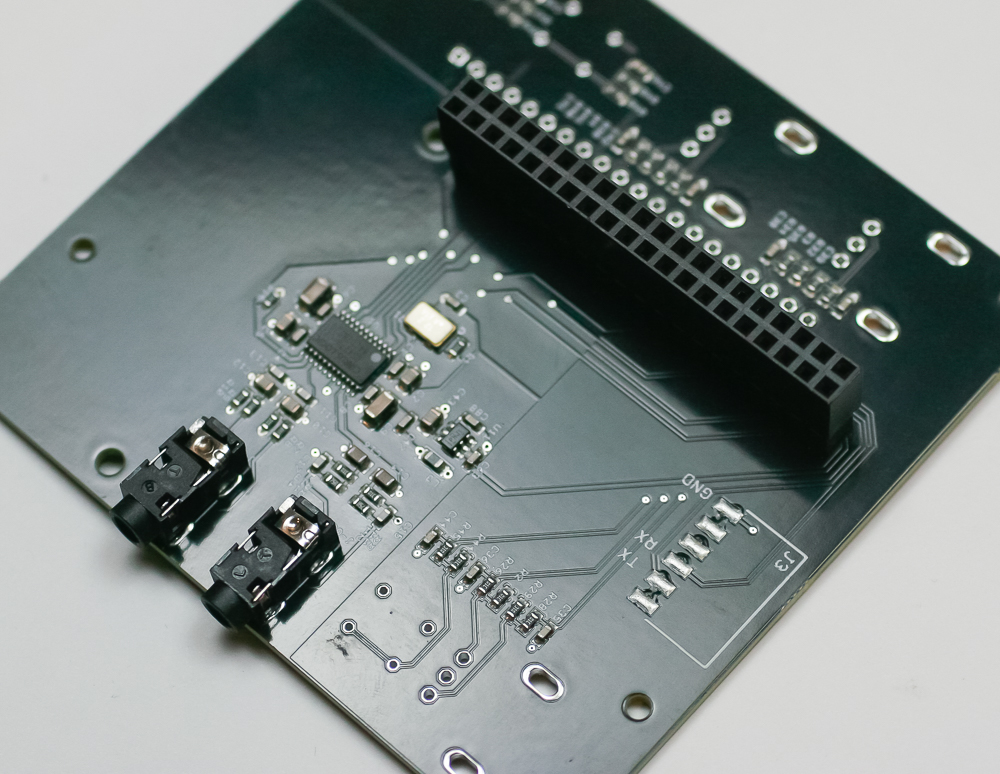
RASPBERRY PI SOCKET
Place the Raspberry Pi socker into the PCB as show below. Do not place it into the other side (even though the silk screen border is on that side). Carefully turn project over and solder in place.
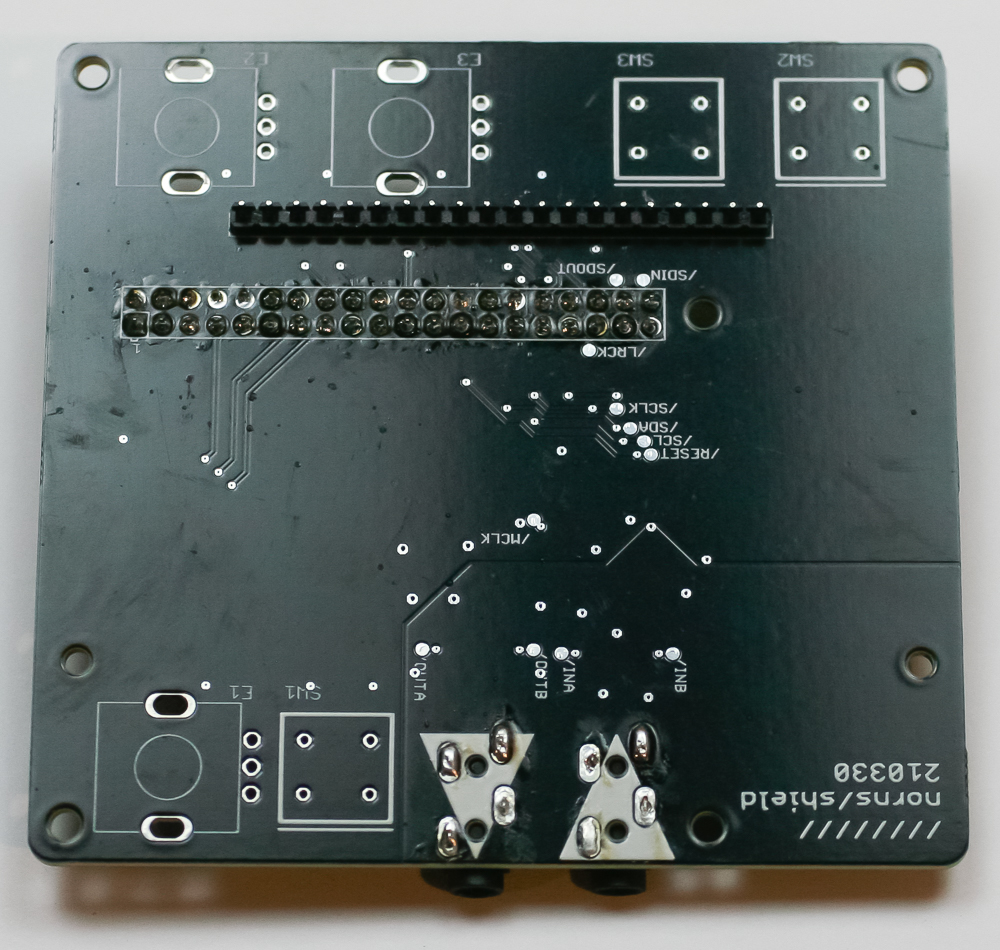
OLED HEADER
Now to the other side! Place the OLED header pins into the PCB as show below. Carefully turn project over and solder in place.
BUTTONS & ROTARY ENCODERS
First, place the buttons in to the project as shown below. Make sure they are seated flat against the PCB. Turn over and solder in place. Then take the rotary encoders and do likewise.
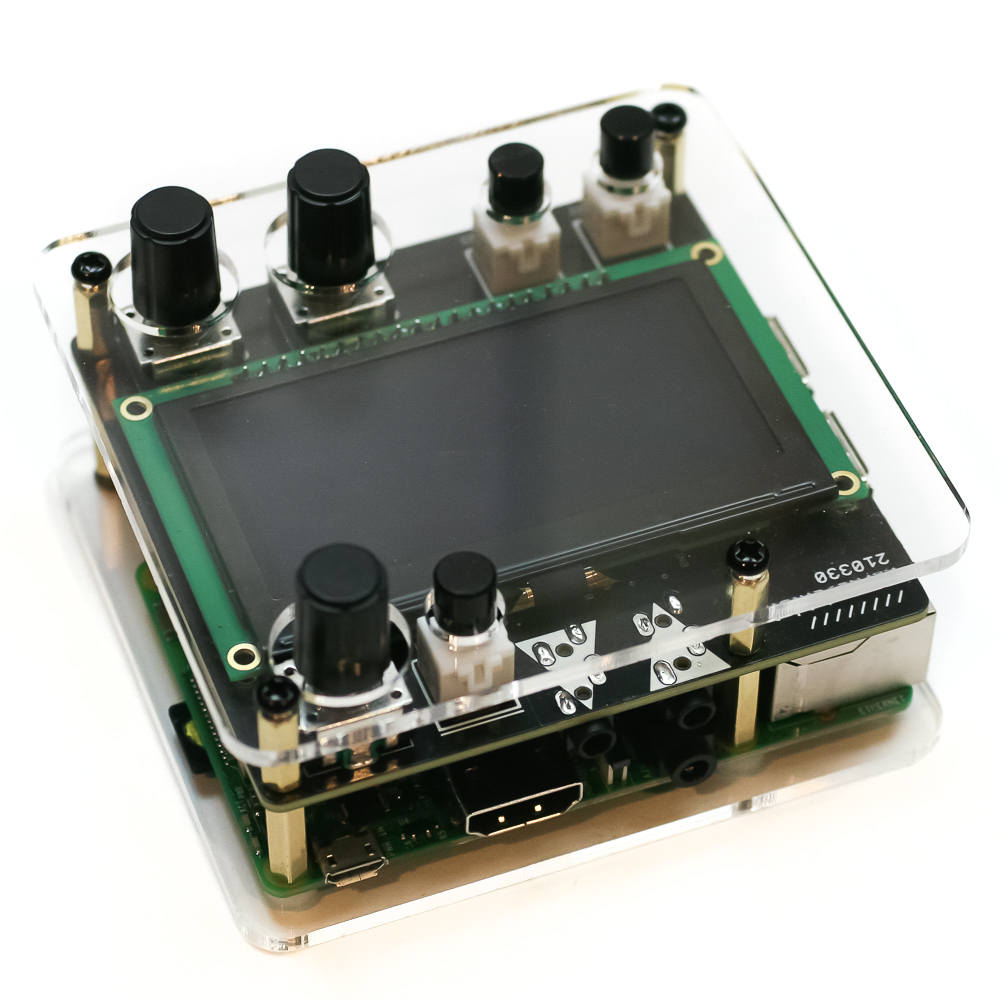
OLED, KNOBS, & BUTTON CAPS
Leave the protective plastic on the screen until after soldering; this keeps flux from getting on the screen. Place the OLED screen over the OLED header pins and solder in place. Then add the knobs and button caps. Remove the protective plastic from the screen.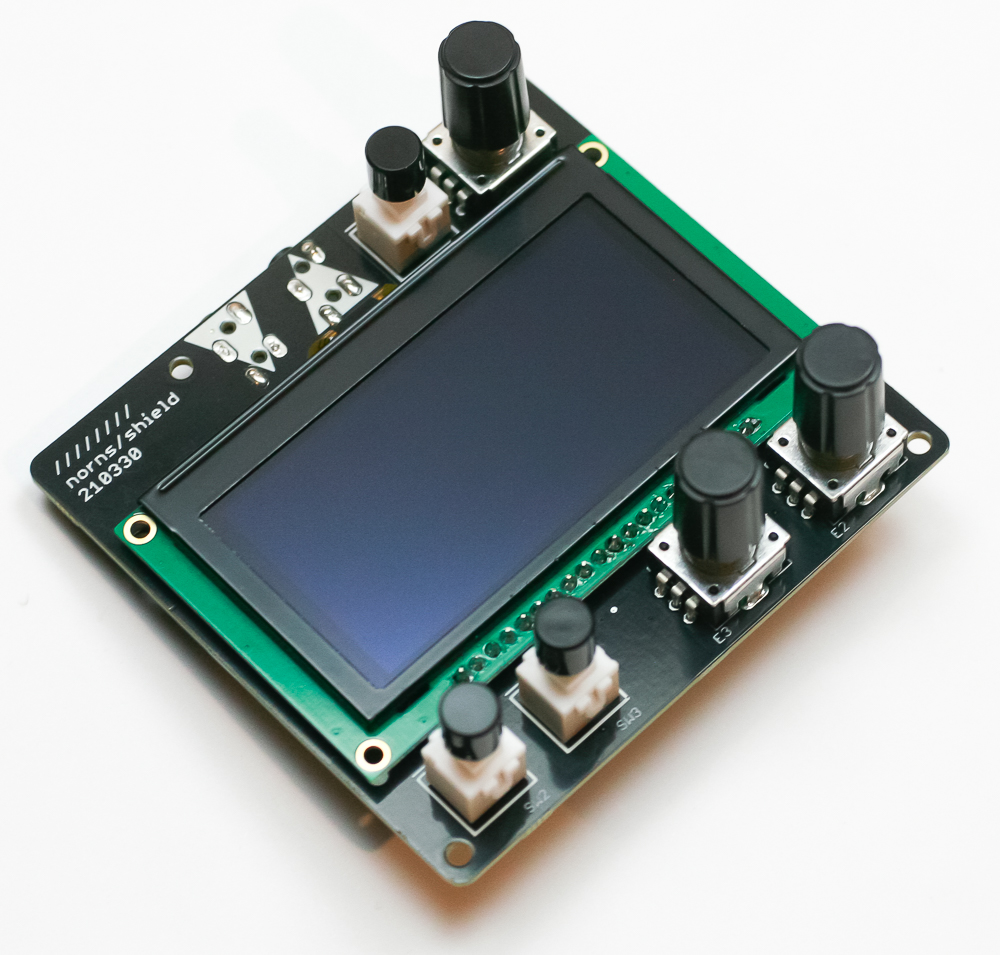
CASES
Sound Study Modular offers two different case options for your Norns Shield project which affect the next steps of the build:
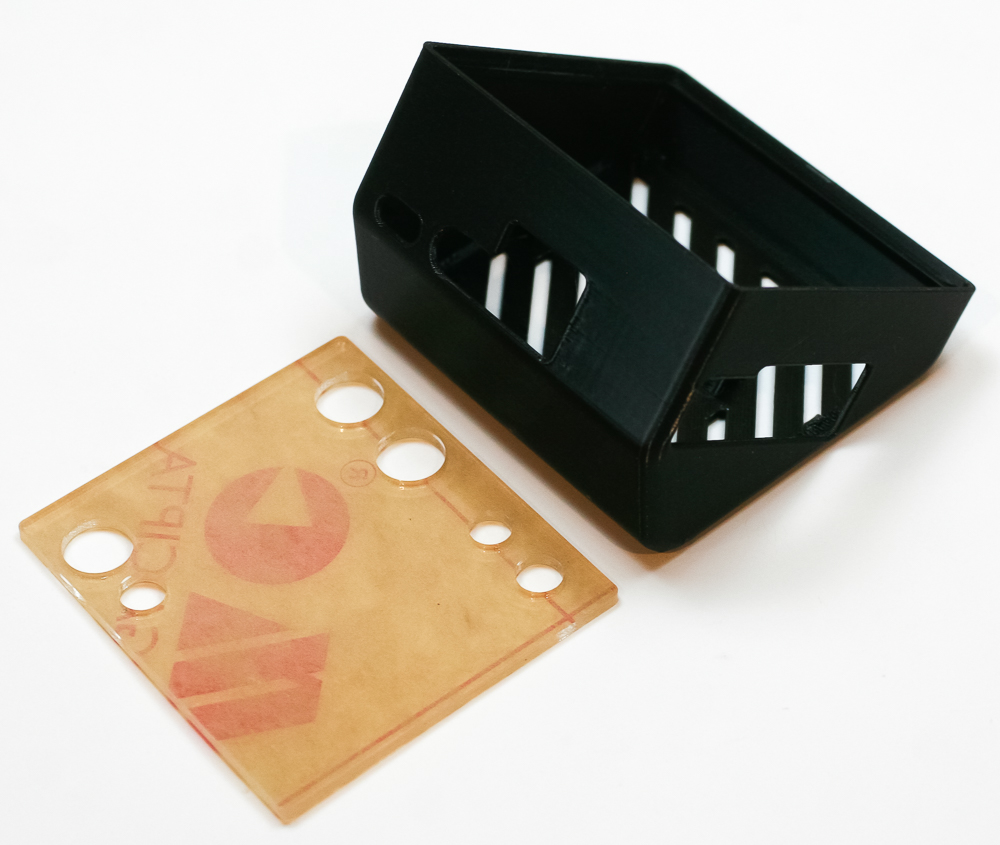
Let’s start off with the Slanted case, which is a 3D printed case and a acrylic front plate.
SLANTED CASE
First remove the protective film from the acrylic front plate. Turn your Shield over and attach the Raspberry Pi to the socket as shown below.
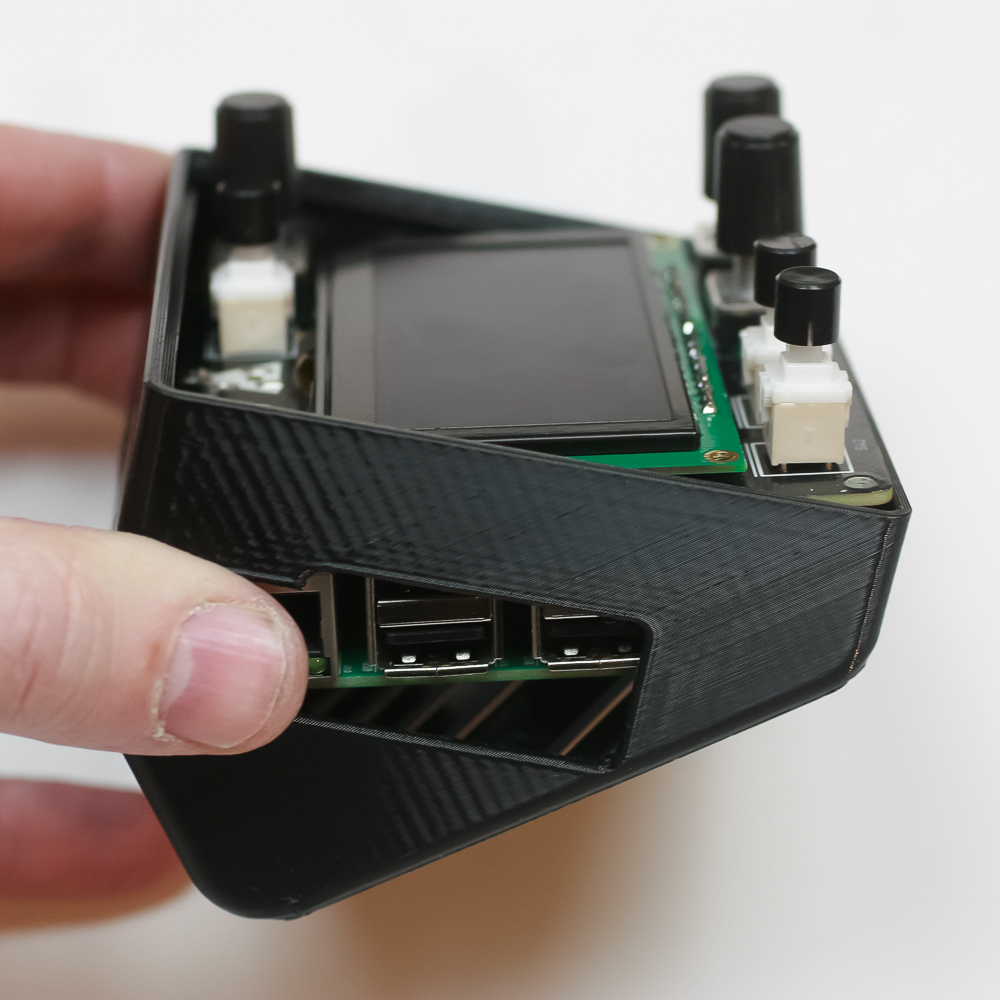
Slant the Shield into the Slanted case as shown below, then flatten it into the case. Make sure the SD card is REMOVED for this step.
Now secure the shield to the Slanted case with the four included M2.5 black screws.
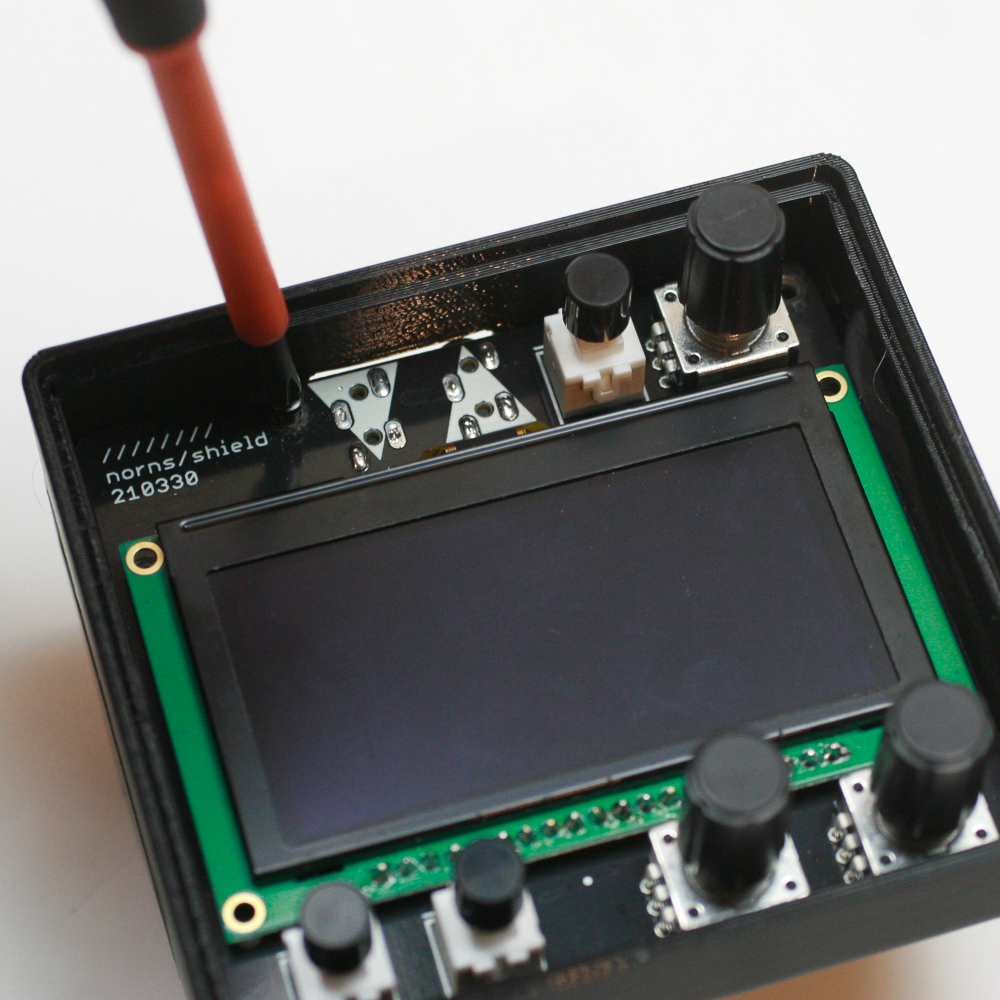
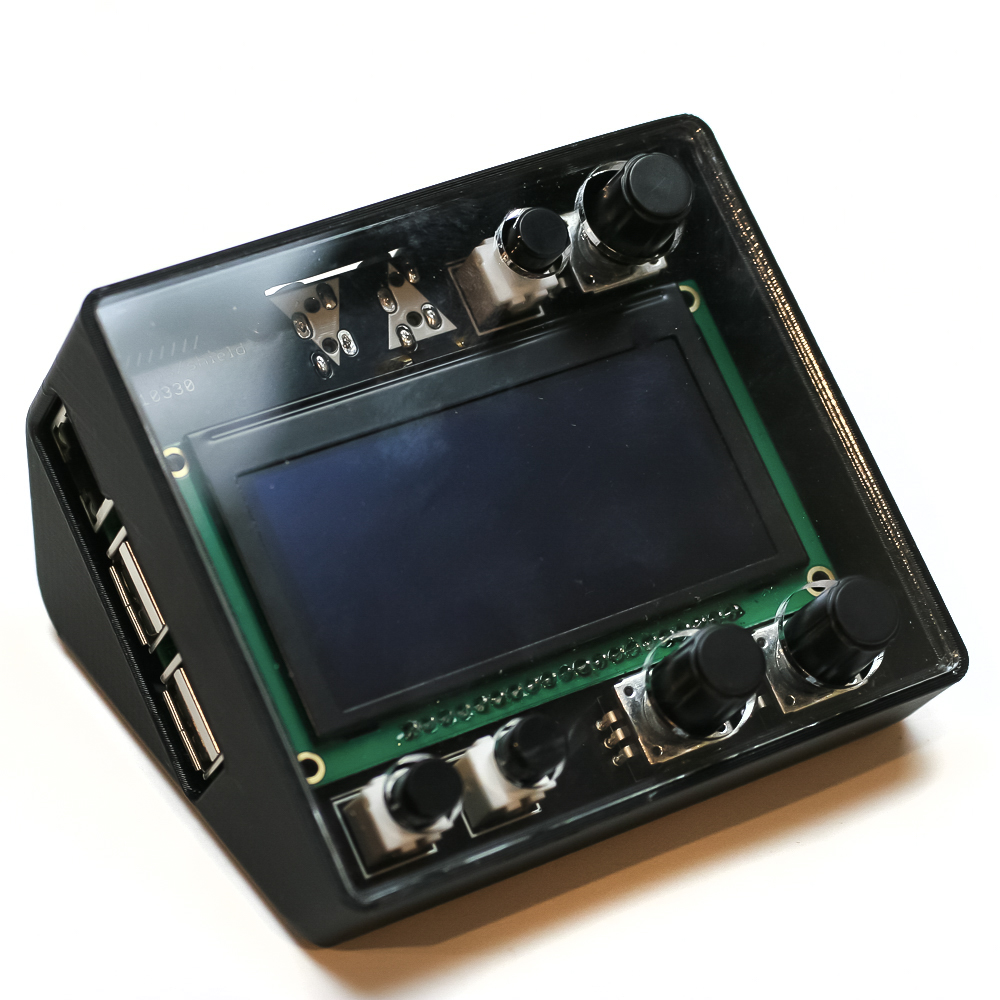
Now press (firmly but carefully) the acrylic front panel.
Sometimes it can be a tight fit. If so, remove the knobs and switch caps. Insert the edge of the acrylic panel into the top of the case opening (the side with one button and one switch). Make sure it’s pushed all the way into the corners. On the thinner side of the case, snap the acrylic in.
It will stay by tension, but you CAN add some super glue if you really want, just be very careful and only do this after you have tested your build!
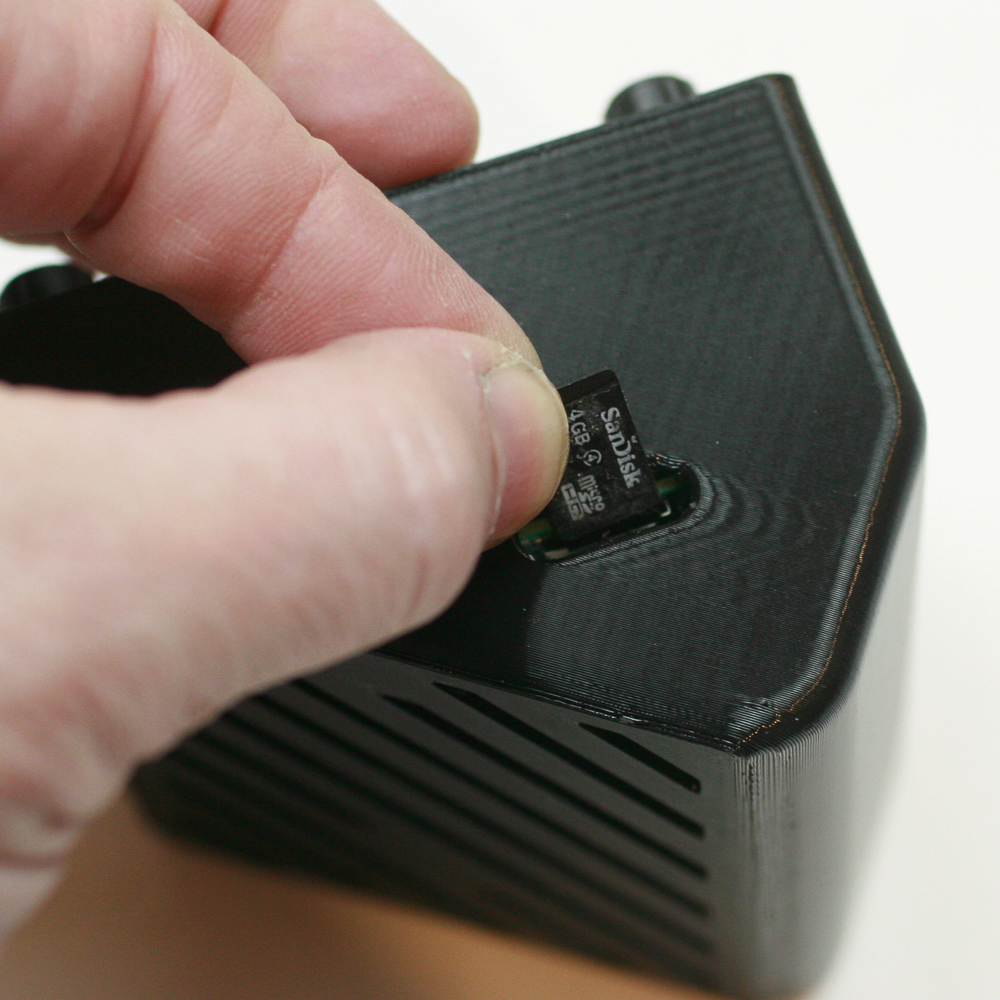
Now insert the (pre-programmed) SD card into the SD card slot as shown below. You can now connect the power supply and test your unit.
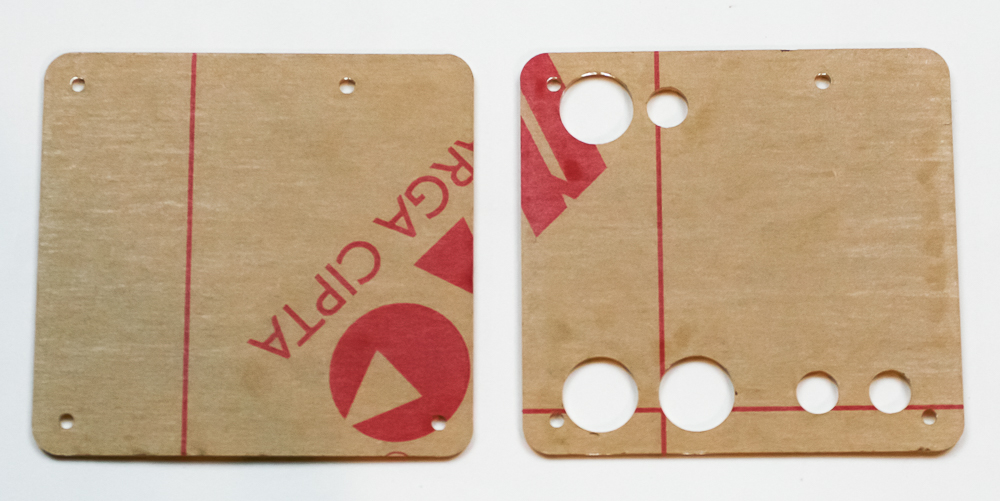
Acrylic Case
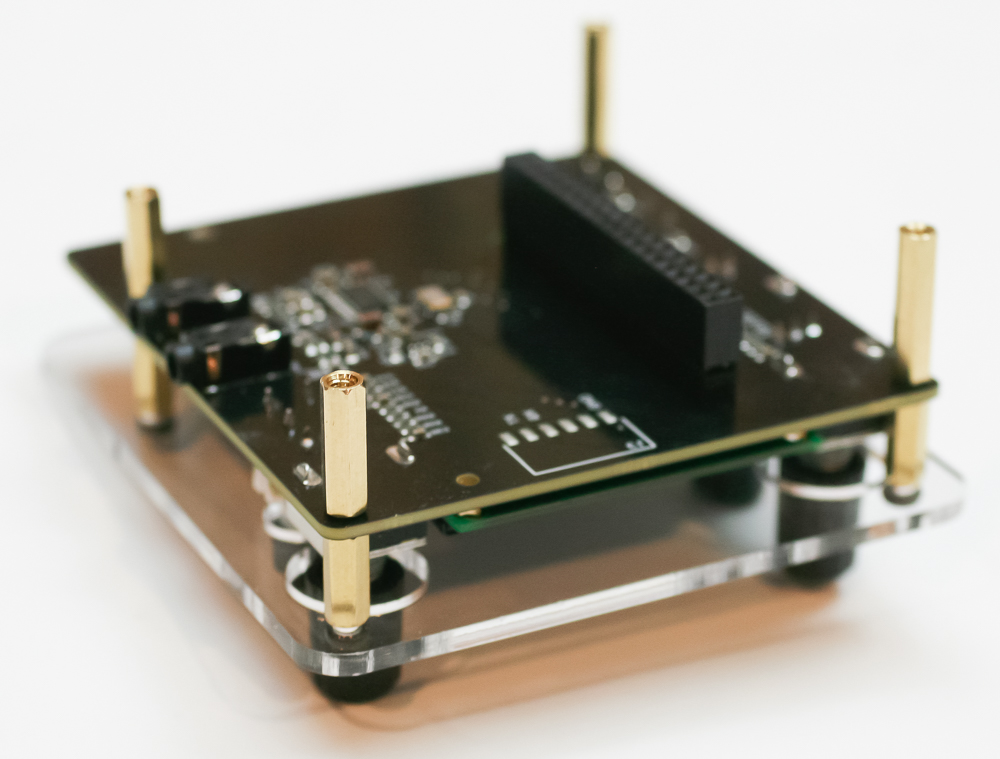
First, screw the four 12mm standoffs into the top acrylic panel. Set the PCB on top of it as shown below. Then screw in the two 16mm standoffs through the PCB; these go on either side of the audio jacks. Then screw the two 20mm standoffs through the remaining holes in the PCB.
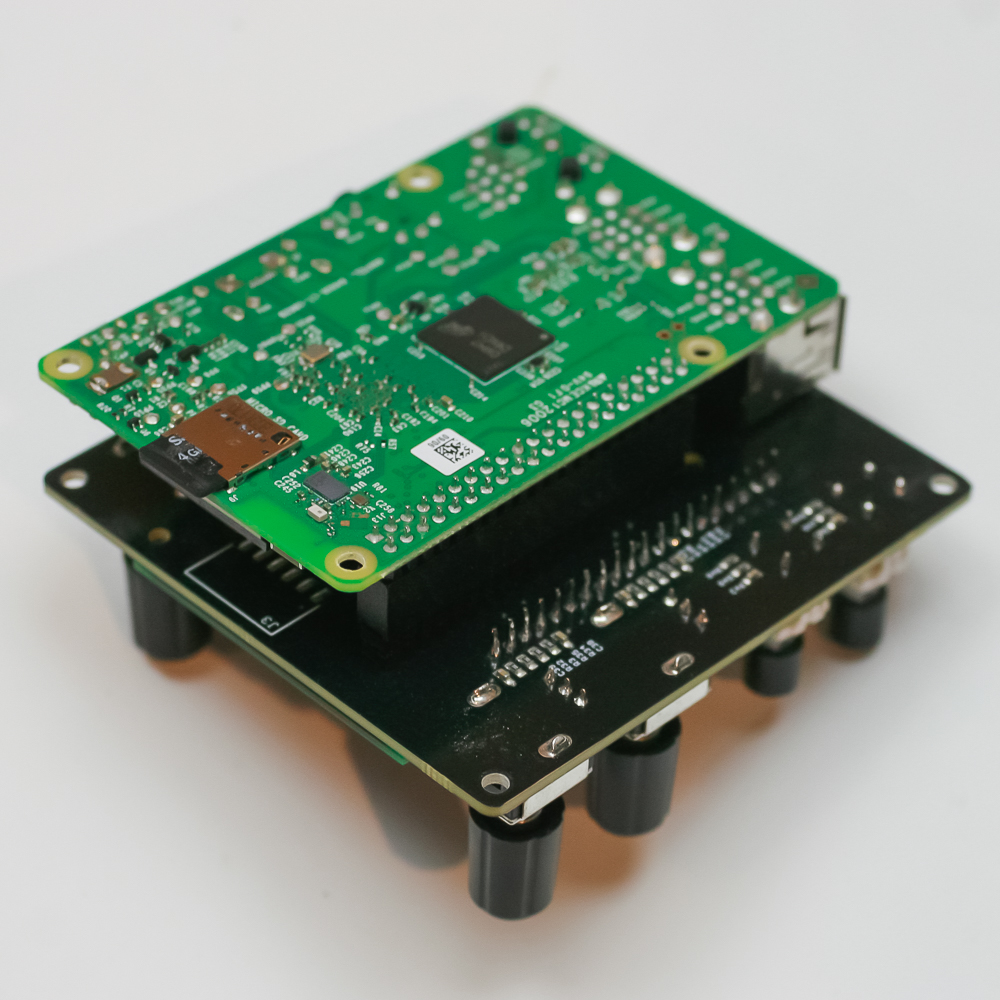
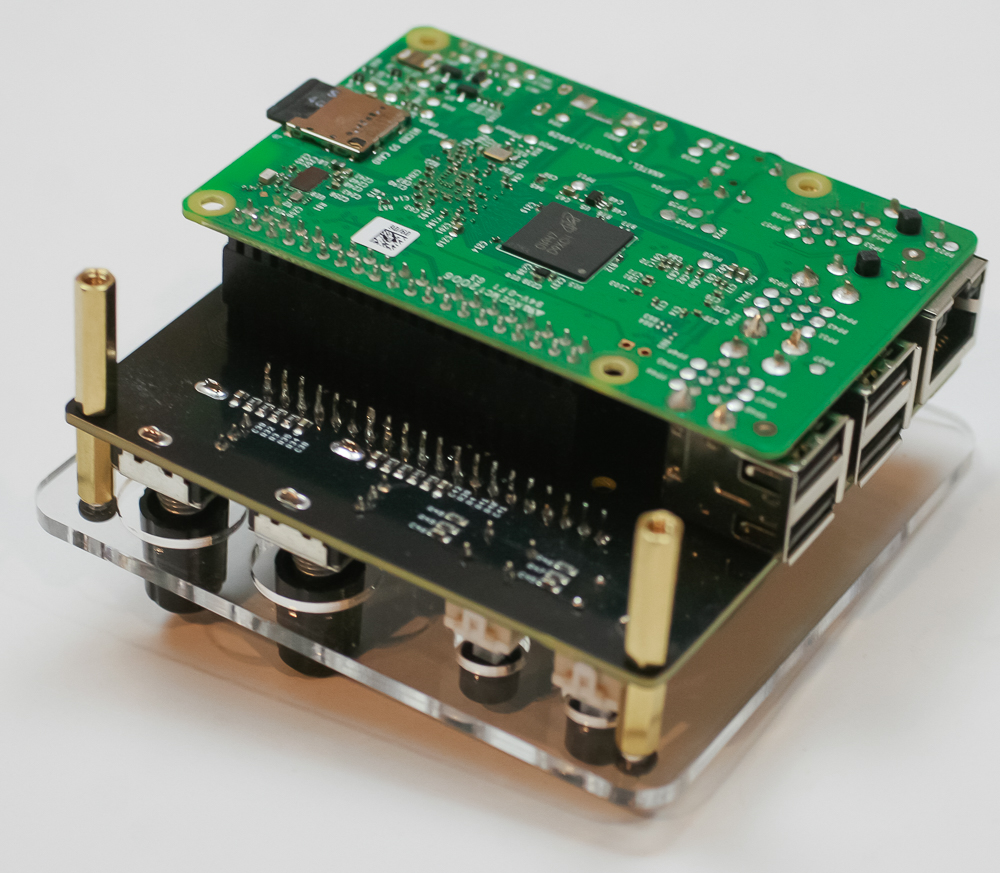
Connect the Raspberry Pi to the Norns Shield.
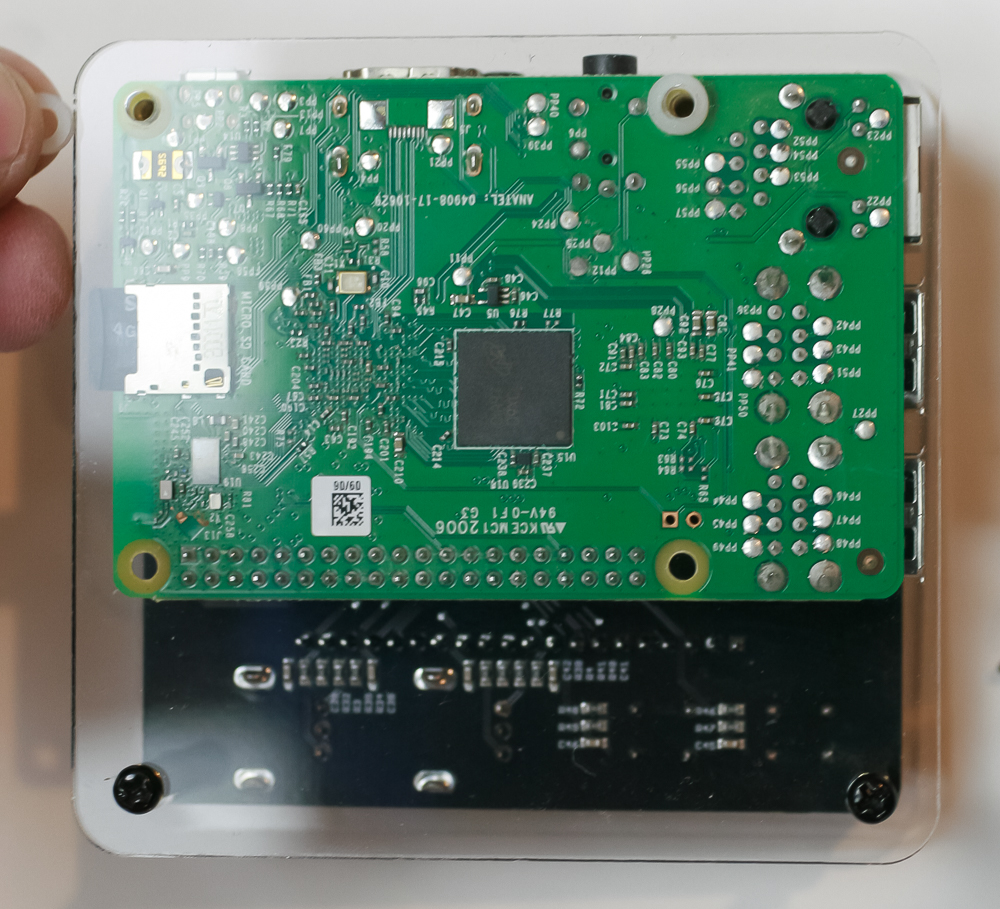
Now set the two white spacers to the audio jack side of the PCB, then lay the acrylic on top. Insert the two longer black screws through the holes with the spacers and screw them into the 16mm standoffs. Use the shorter black screws to thread into the 20mm standoffs.
Once you are done, you can flip the project over, add your SD card (with pre-loaded code), then plug your unit in!