Important note: This is a guide to assembling our finish-it-yourself kit. The SMD parts are already populated, and the firmware is pre-programmed.
Click here for a bill of materials with Mouser part numbers.
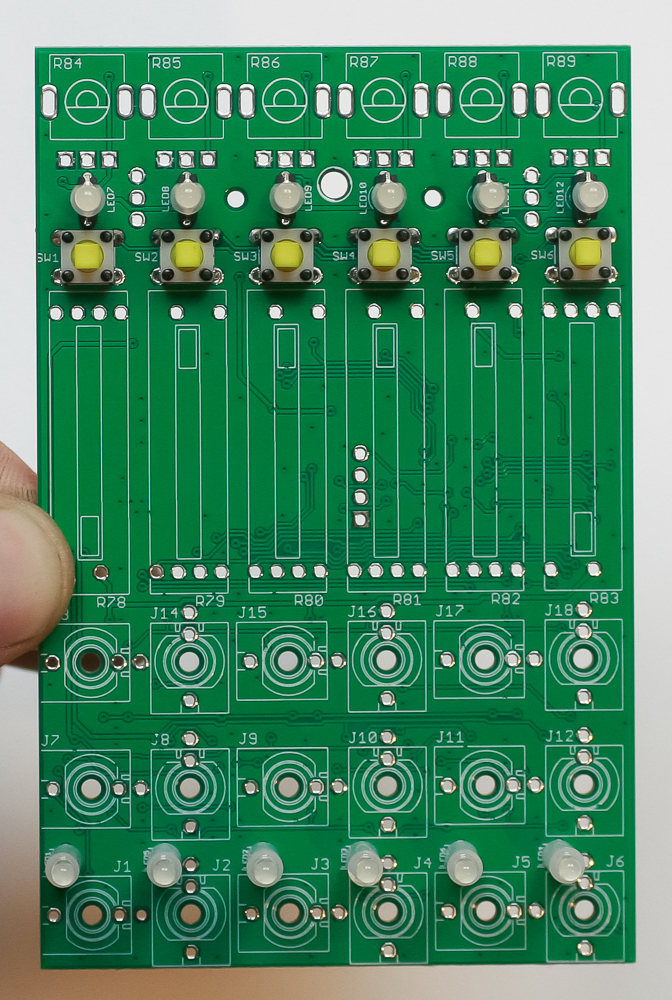
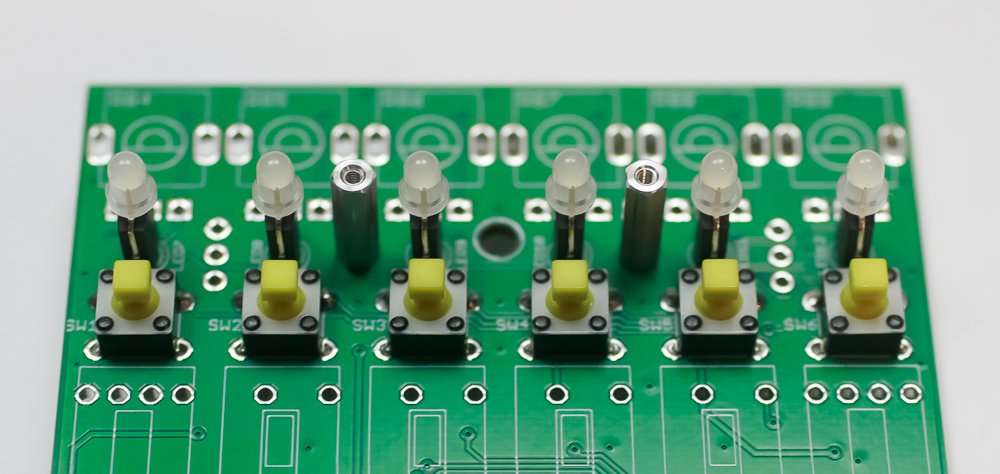
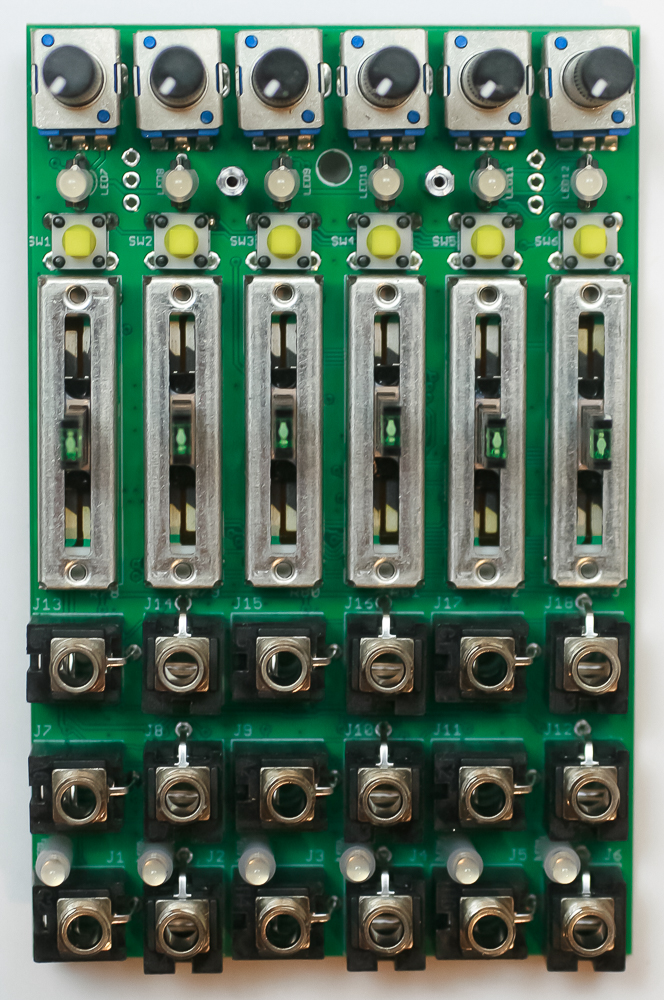
Tact Switches
Place the tact switches into the PCB as shown below. Make sure they are fully pushed into the PCB, then carefully turn the project over to solder them in place.
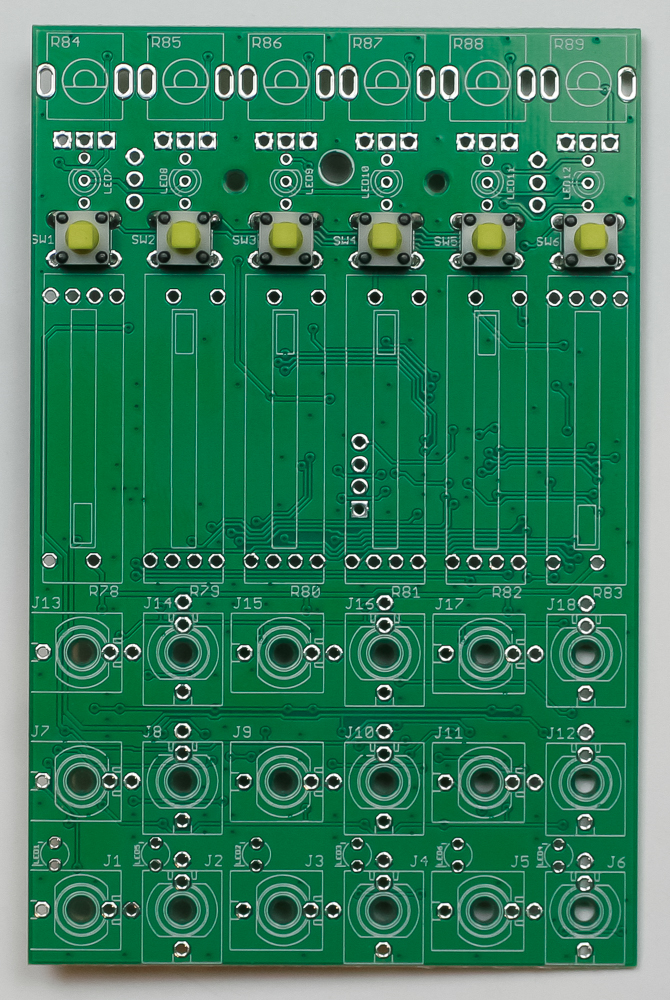
LEDs
First, slip the LED spacers on all of the LEDs. The white spacers fit the 2-pin LEDs; the black spacers fit the 3-pin LEDs.
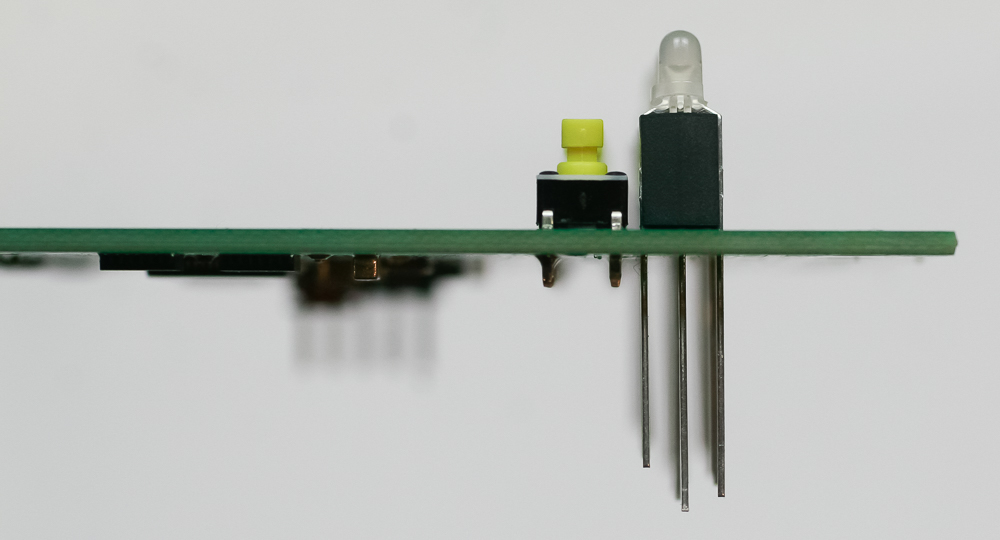
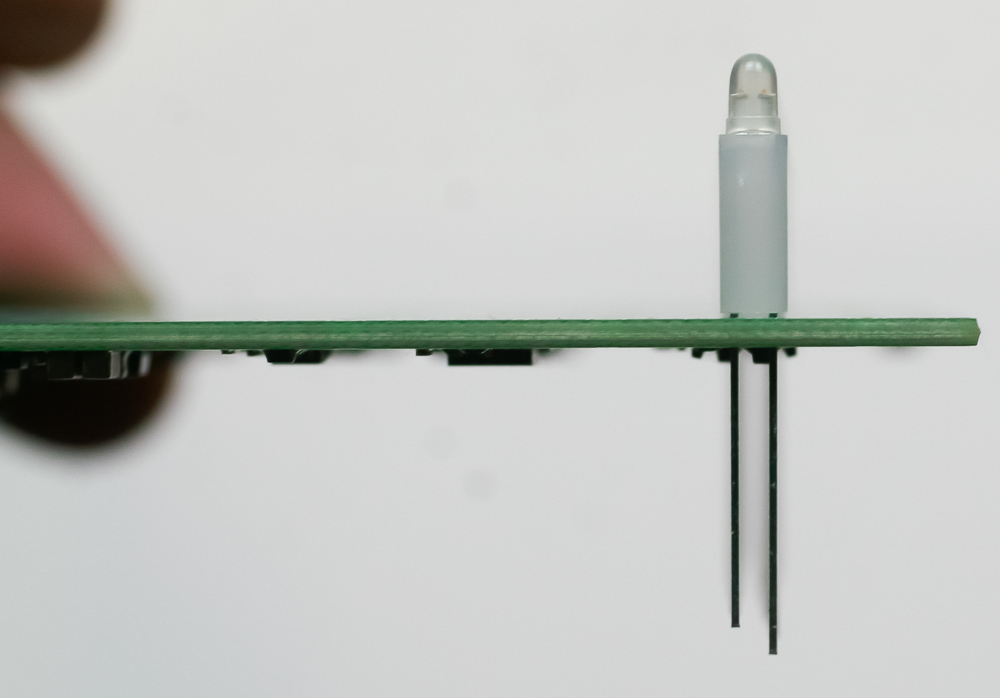
Carefully turn over to solder in place. Clip excess leads.
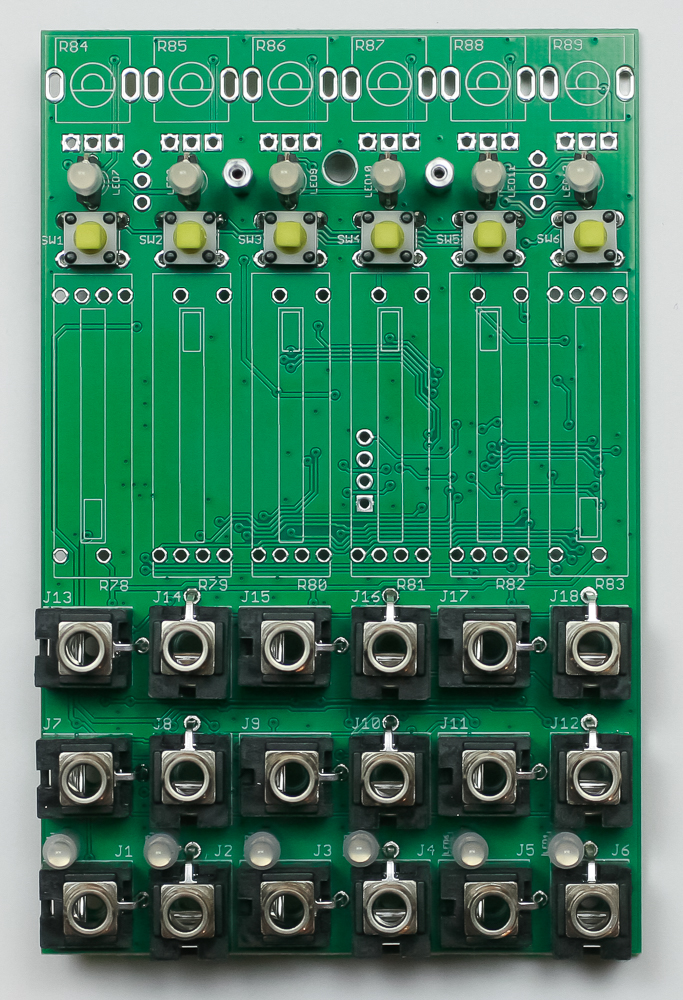
Standoffs
Add the two small standoffs as shown below.
Jacks
Place the jacks into the PCB as shown below. Carefully turn the project over to solder in place. You can use the panel to make sure that the jacks all stay in place.
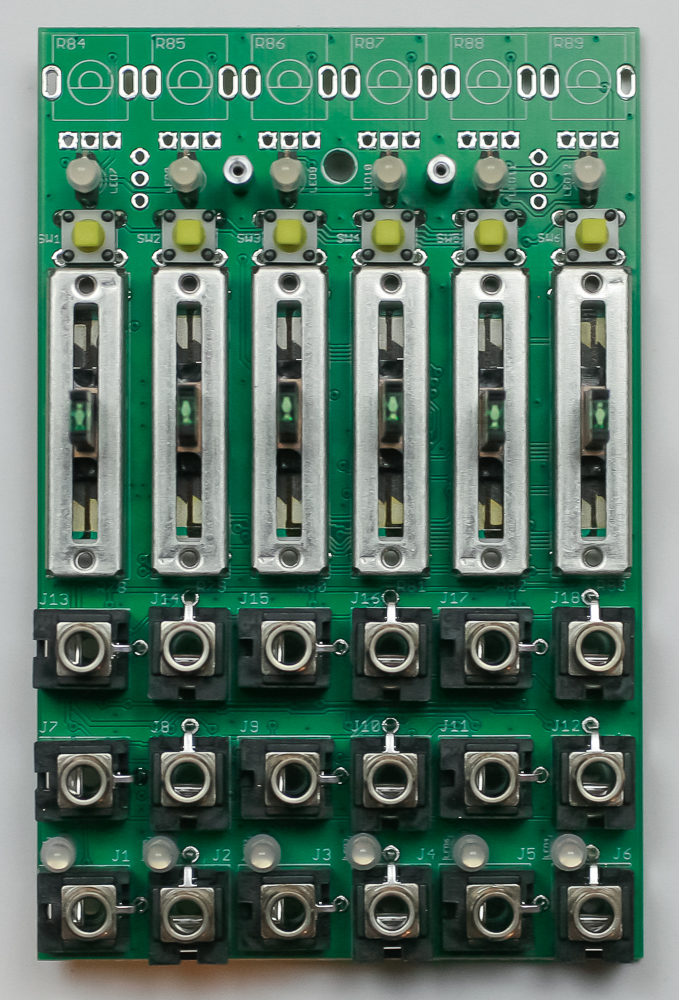
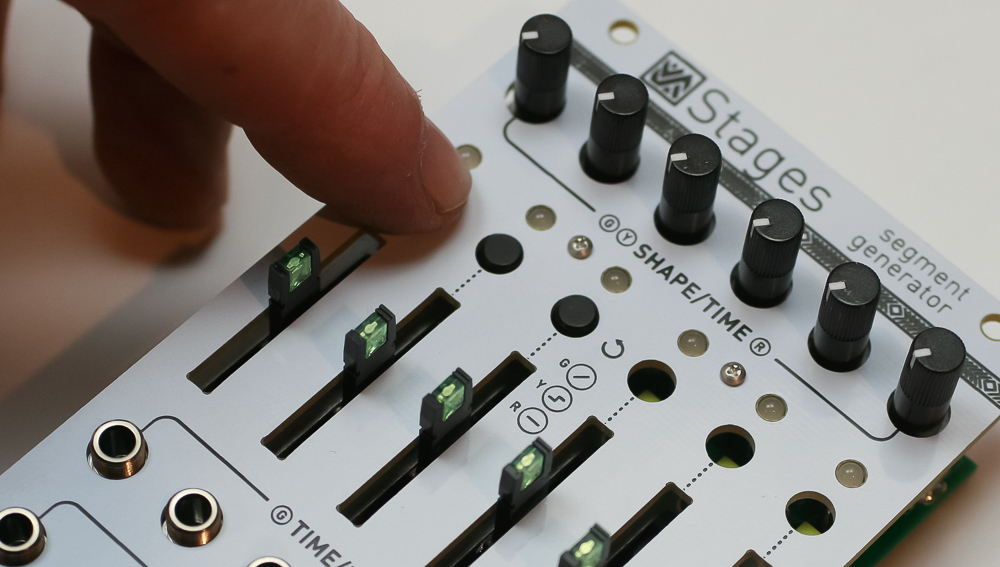
Slide Pots
Place all of the slide pots into the PCB as shown below. Move the sliders to the center position. Carefully turn the project over and solder one leg. Turn over and check to make sure the slide pots are level; if they aren’t, reheat that solder joint to snap them in place. Once they look ok, solder the rest of the legs.
Plastic Shaft Pots
Place all of the plastic shaft pots into the PCB as shown below. Just like with the slide pots, solder one leg first, then check to make sure they are all level. You can tell pretty easily by looking at the side, they should be all in a straight line. Fix any tilted pots, then carefully turn the project over to solder in place.
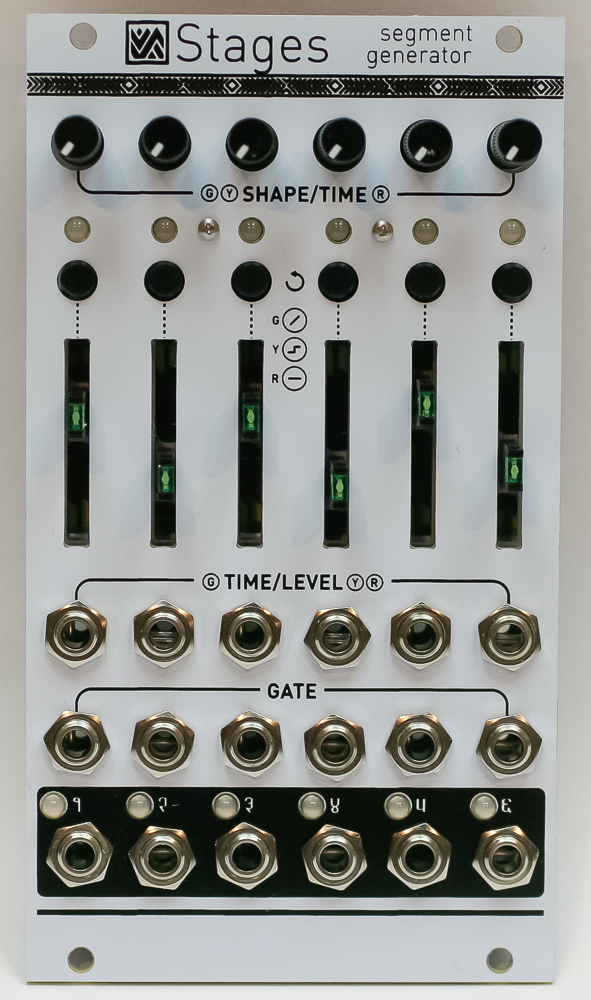
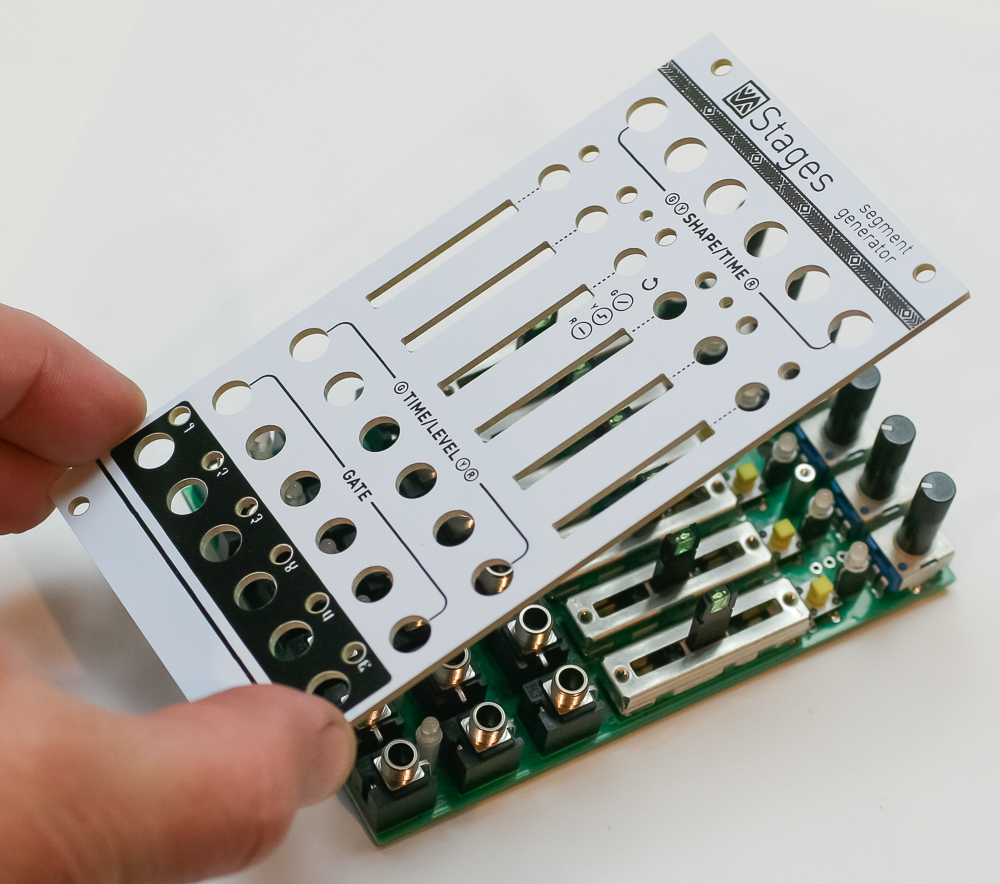
Panel
Carefully place the panel over your components as shown below. Take your time to make sure the LEDs don’t bend over.
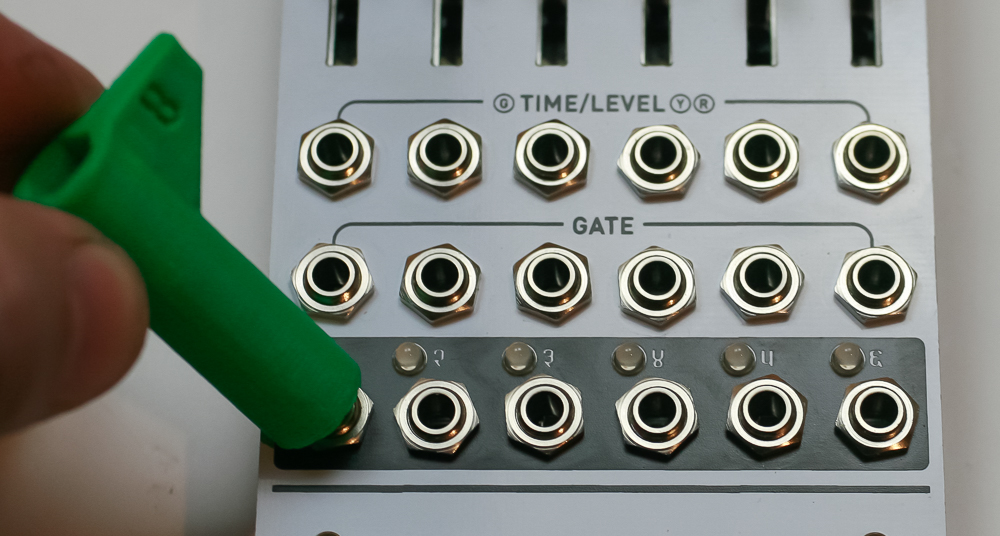
Now gently tighten the jack nuts.
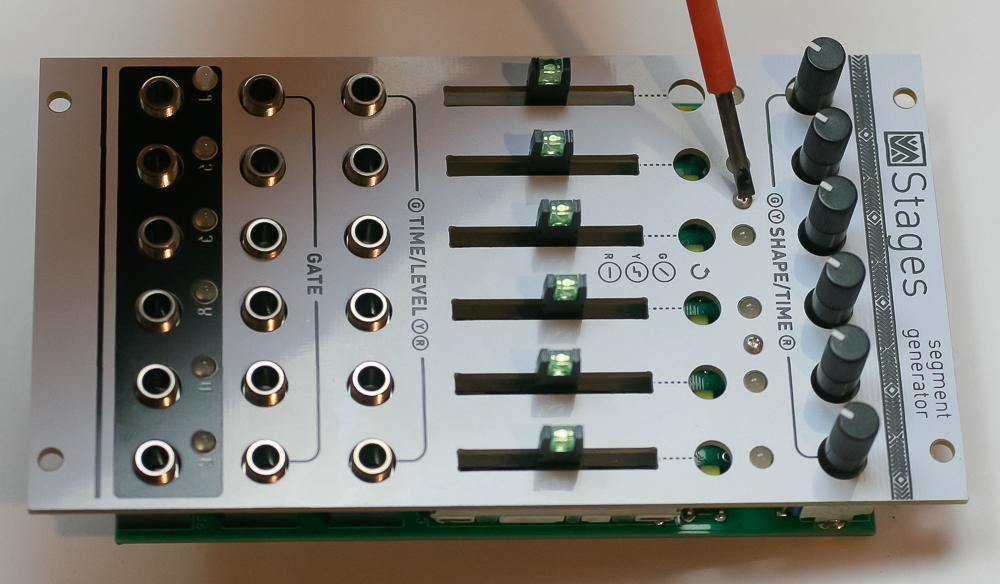
Now screw in the panel standoff screws.
Now press in the tact switch button covers.
Congrats! We’ve already programmed the firmware. Stages works very well without needing to perform a quite complicated calibration. If you want to do this, please follow this link.
Your module will first start up in ‘calibration mode’ (with LEDs pulsing). You can either calibrate it (very very time consuming and requires special equipment), or just power cycle your system to take it out of calibration mode.