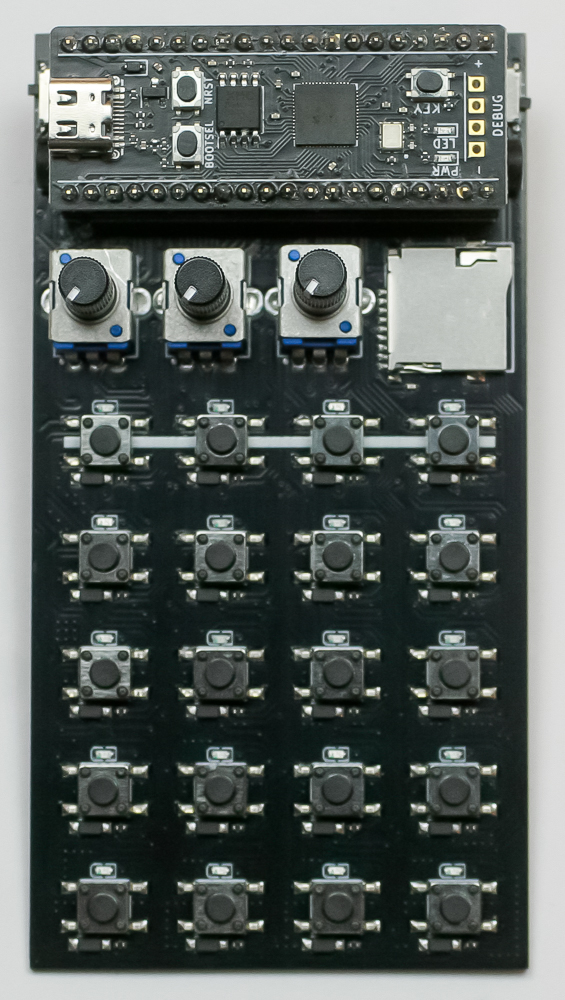
Important note: This is a guide to assembling our finish-it-yourself kit. The SMD parts are already populated, the firmware is pre-programmed, and the SD card is pre-loaded with samples.
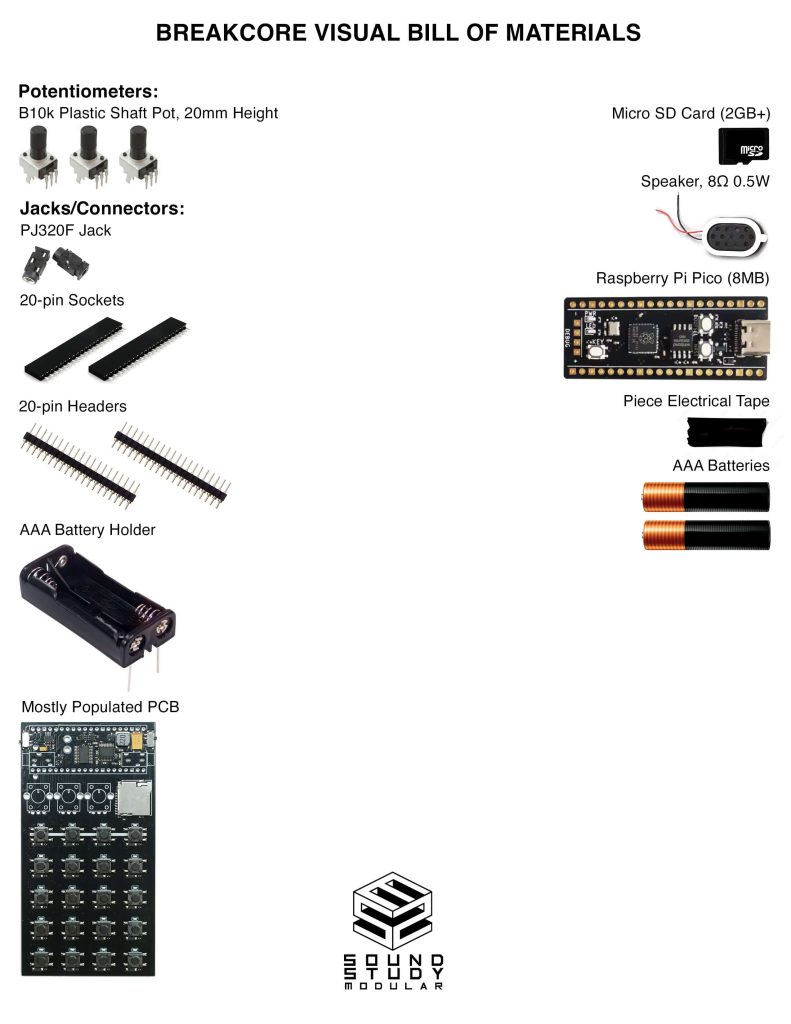
For a bill of materials with Mouser part numbers, click here.
Thank you for purchasing the Breakcore!
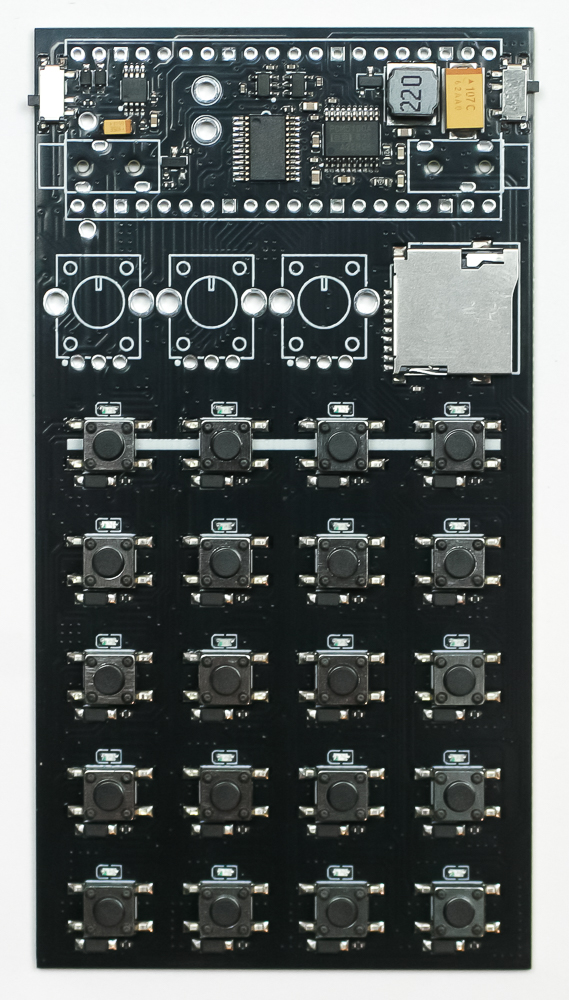
Audio Jacks
Place the audio jacks into the PCB as shown below. Make sure they are flatly set into the PCB, then carefully turn the project over to solder them in place.
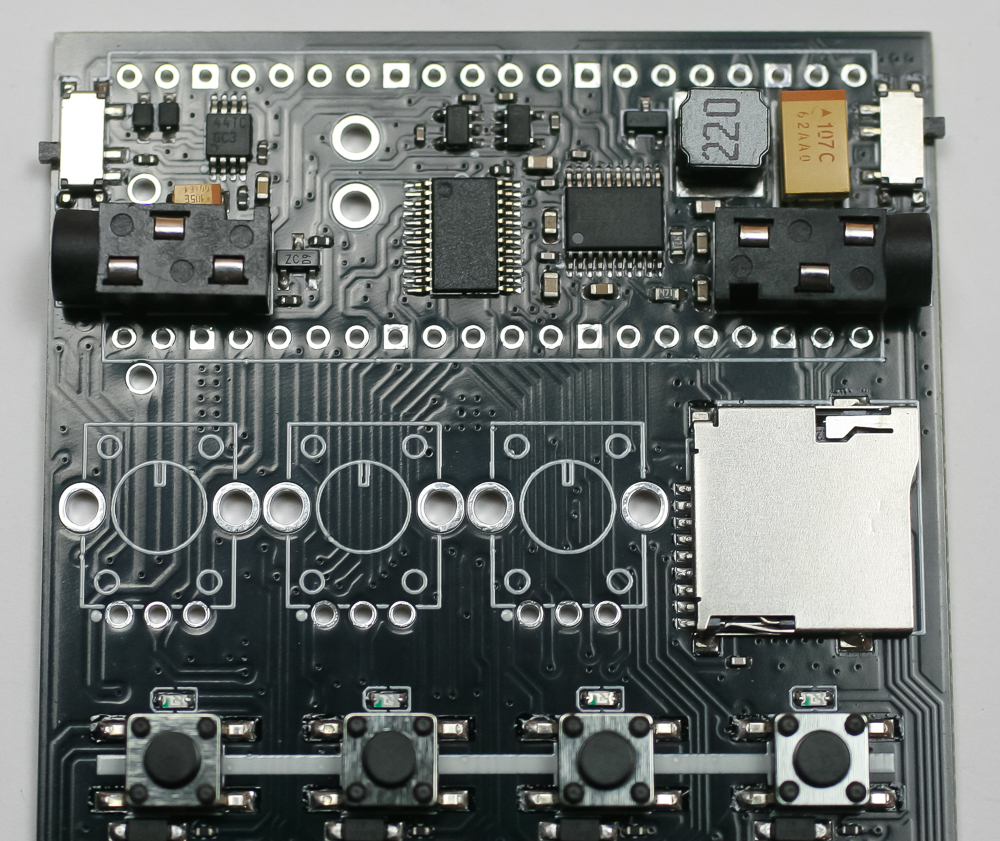
Electrical Tape
Place a small amount of tape over both audio jacks as shown below.
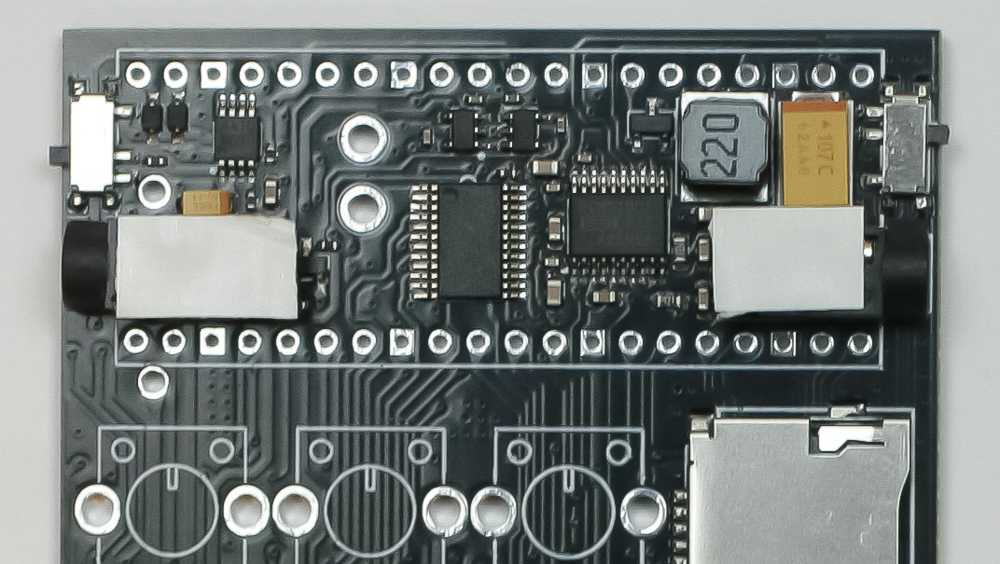
Female Headers
Next, place the two female header rows into the PCB as shown below, carefully turn over and solder in place. Make sure that they are straight!
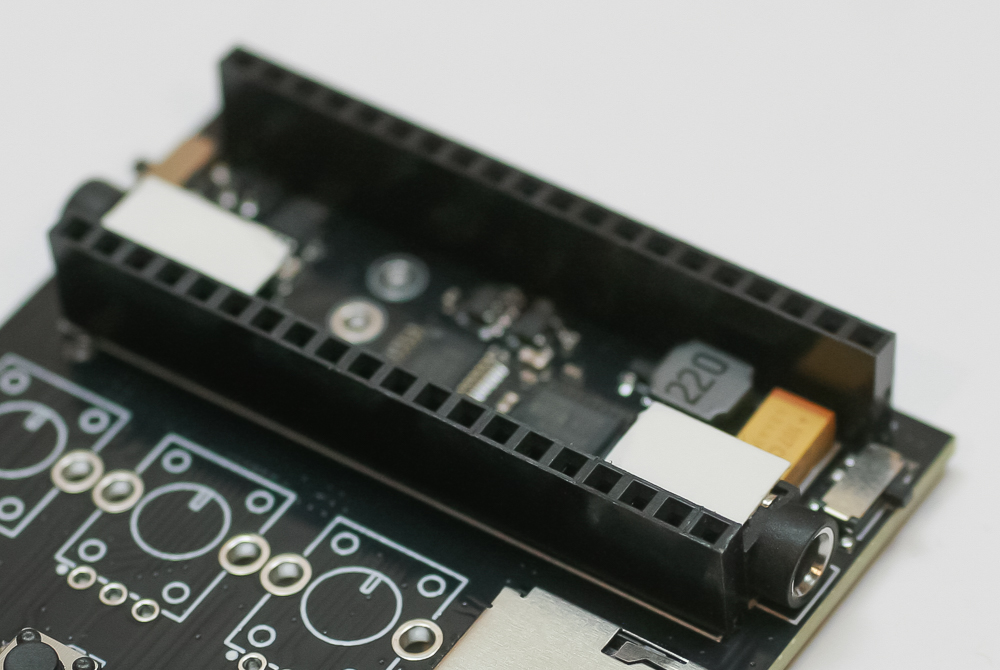
Male Headers
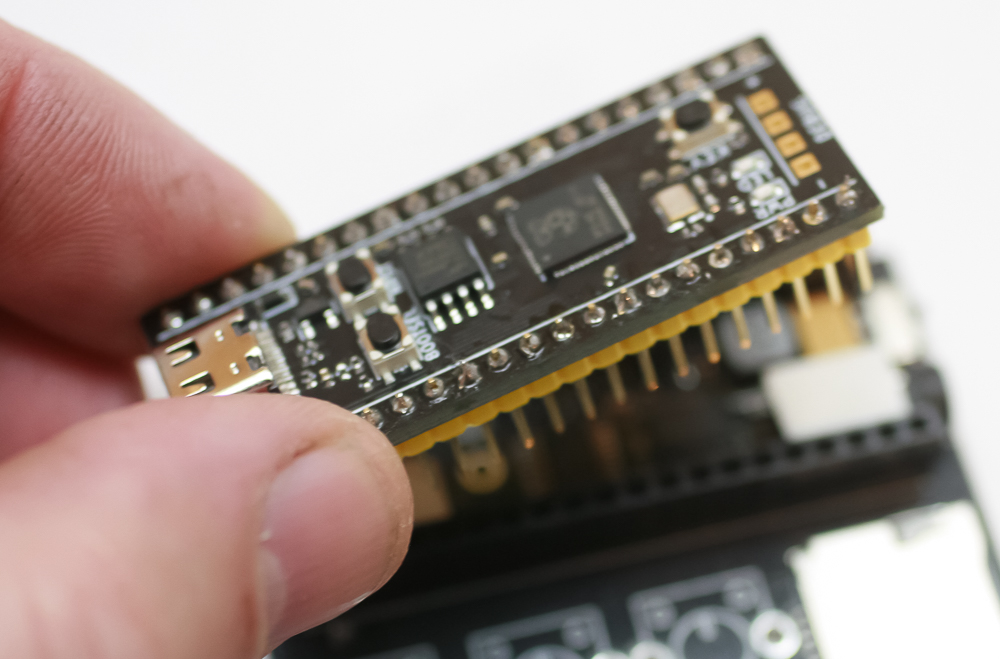
Next, place the two male header rows into the female header rows shown below.
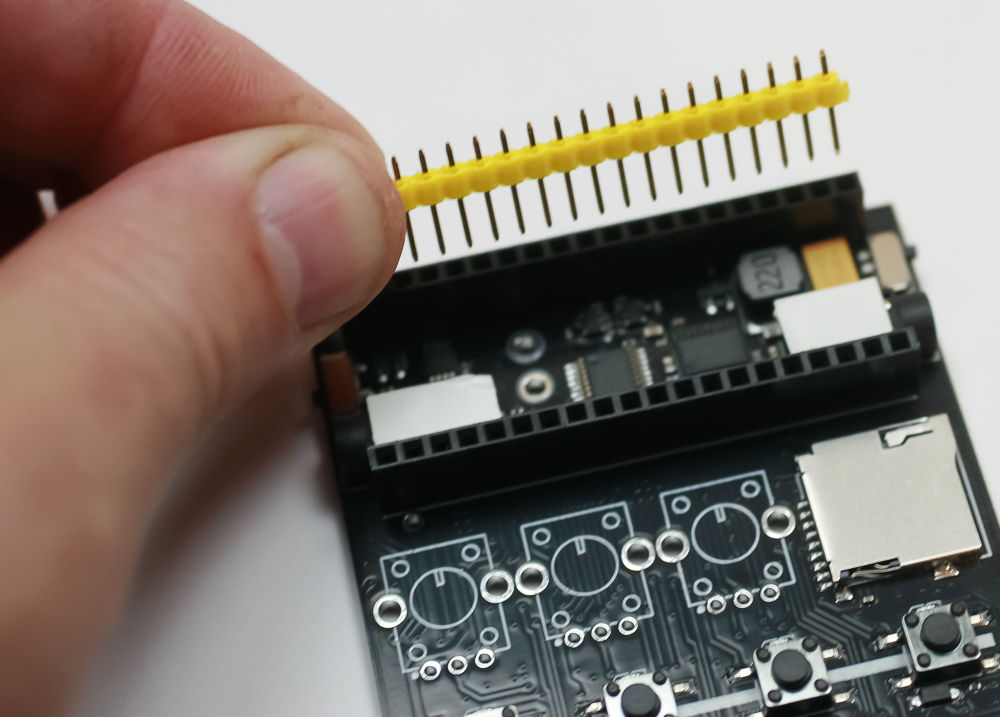
Now place the Raspberry Pi Pico on to the pins, then carefully solder the male pins.
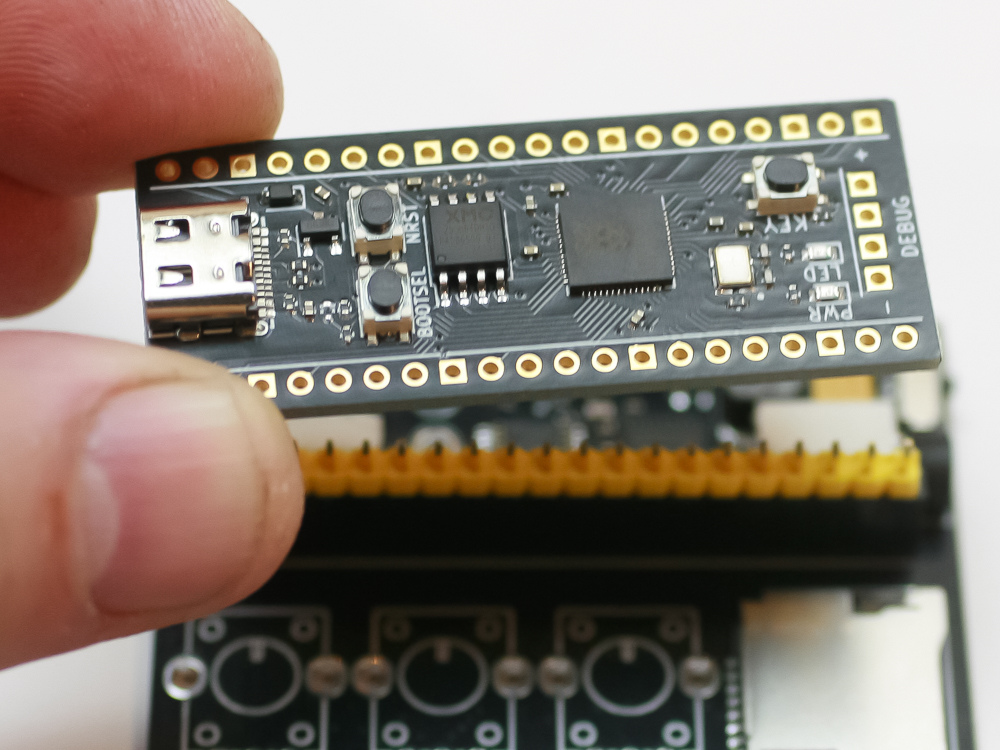
Once soldered in place, you can remove the Raspberry Pi Pico.
Speaker
Solder in the two speaker wires, as shown below. Polarity doesn’t matter here.
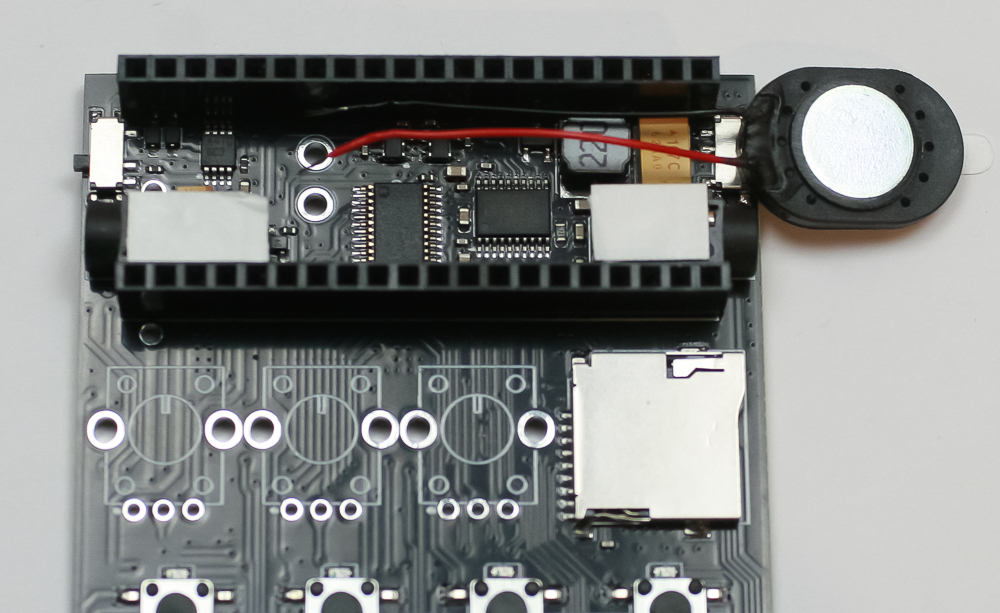
Next, take some of the electrical tape and place it over the metal part of the speaker as shown below.
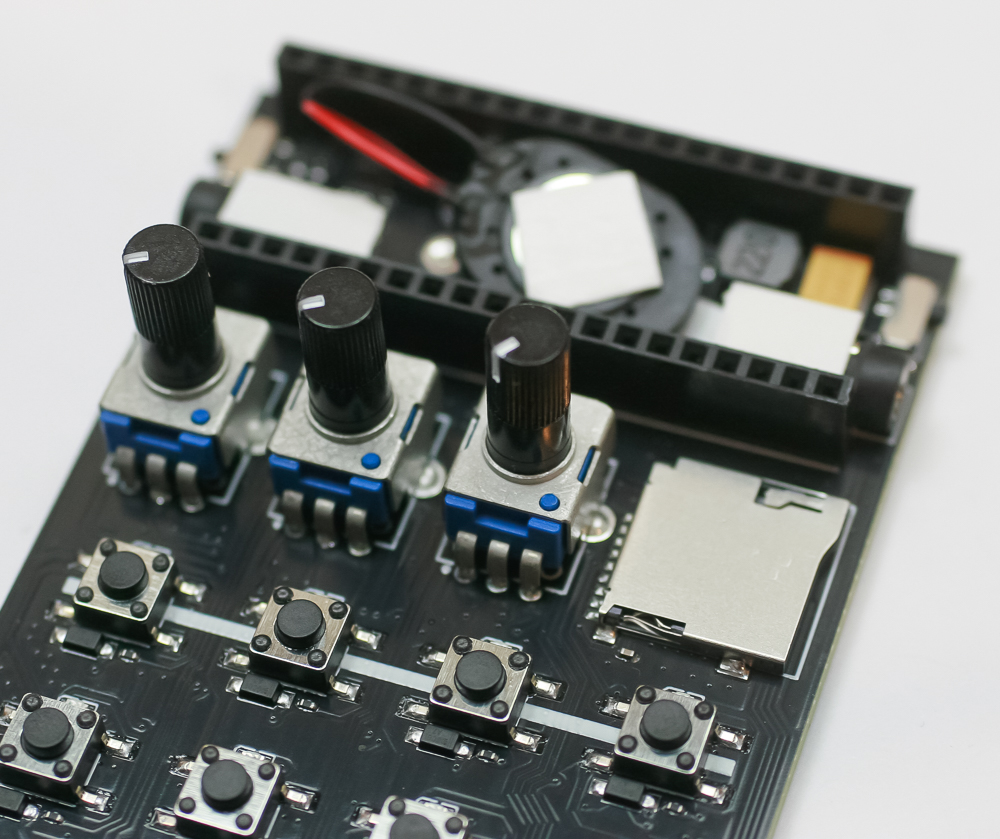
Place the speaker in the unit as shown above.
Battery Holder
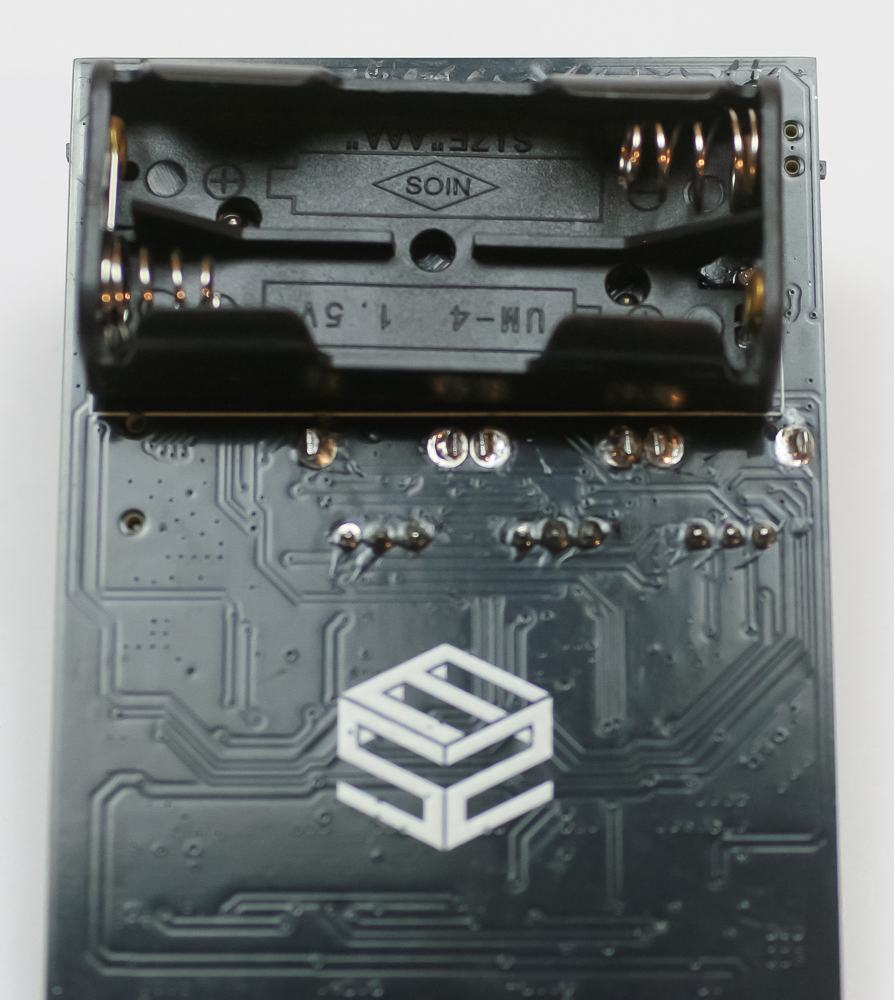
Place and solder in the dual AAA battery holder as shown below. The pins are a tad close to the other components, so please take your time!
Potentiometers
Now place and solder in the three pots as shown below. Take care to make sure they lay flat against the board, then solder in place.
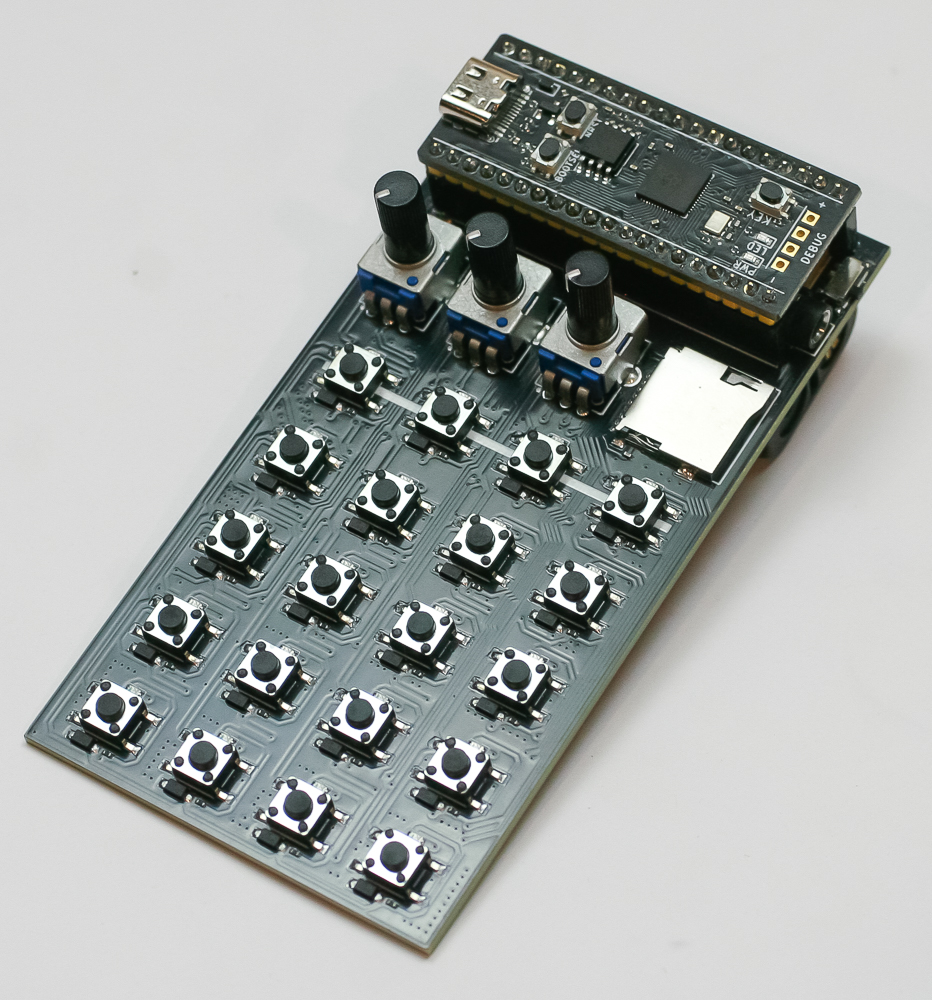
The Raspberry Pi Pico already comes preprogrammed with the Sound Study code. If you flash the Raspberry Pi Pico with anything but the Sound Study code, the LEDs may not all line up with the Sound Study clone. You can download the Sound Study code here.
The SD card comes preloaded with some samples. If you want more information on how to make new samples and upload them to the Breakcore, please head here.
You can find a quick start guide here.