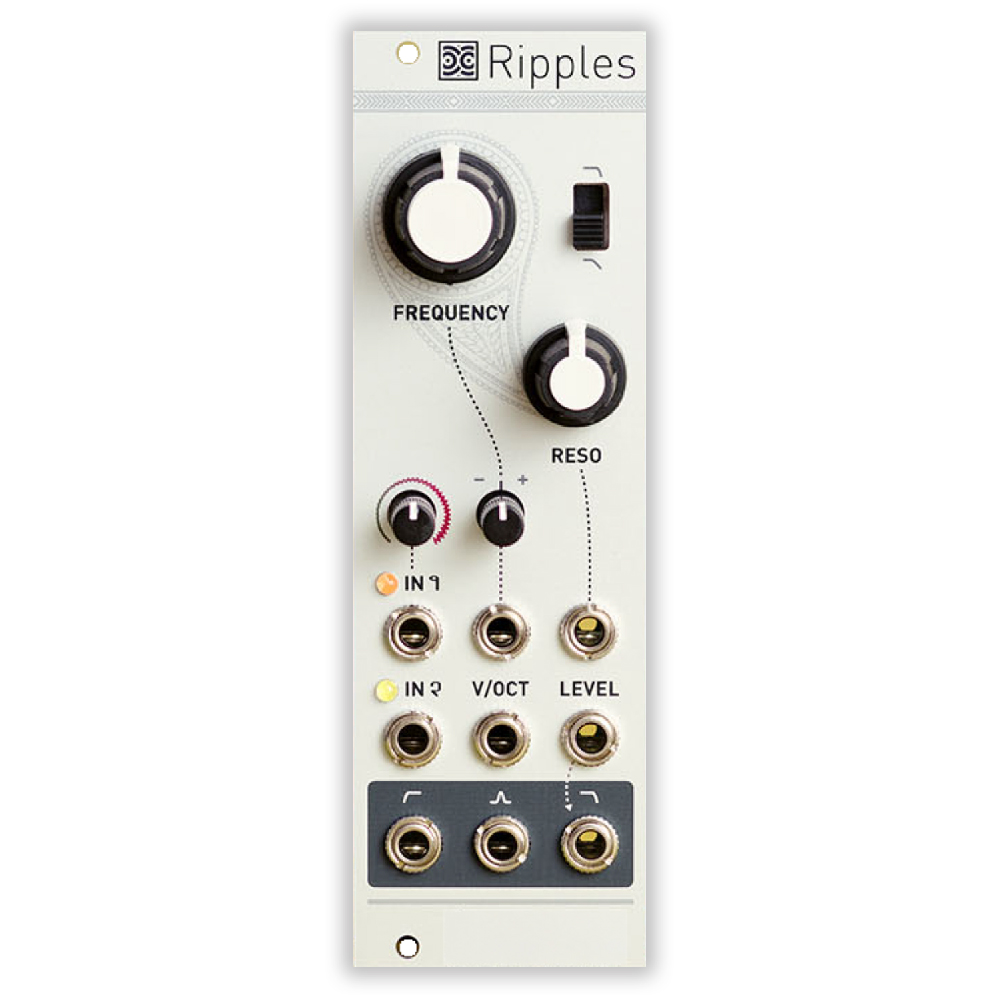
Important note: This is a guide to assembling our finish-it-yourself kit. The SMD parts are already populated, and the firmware is pre-programmed.
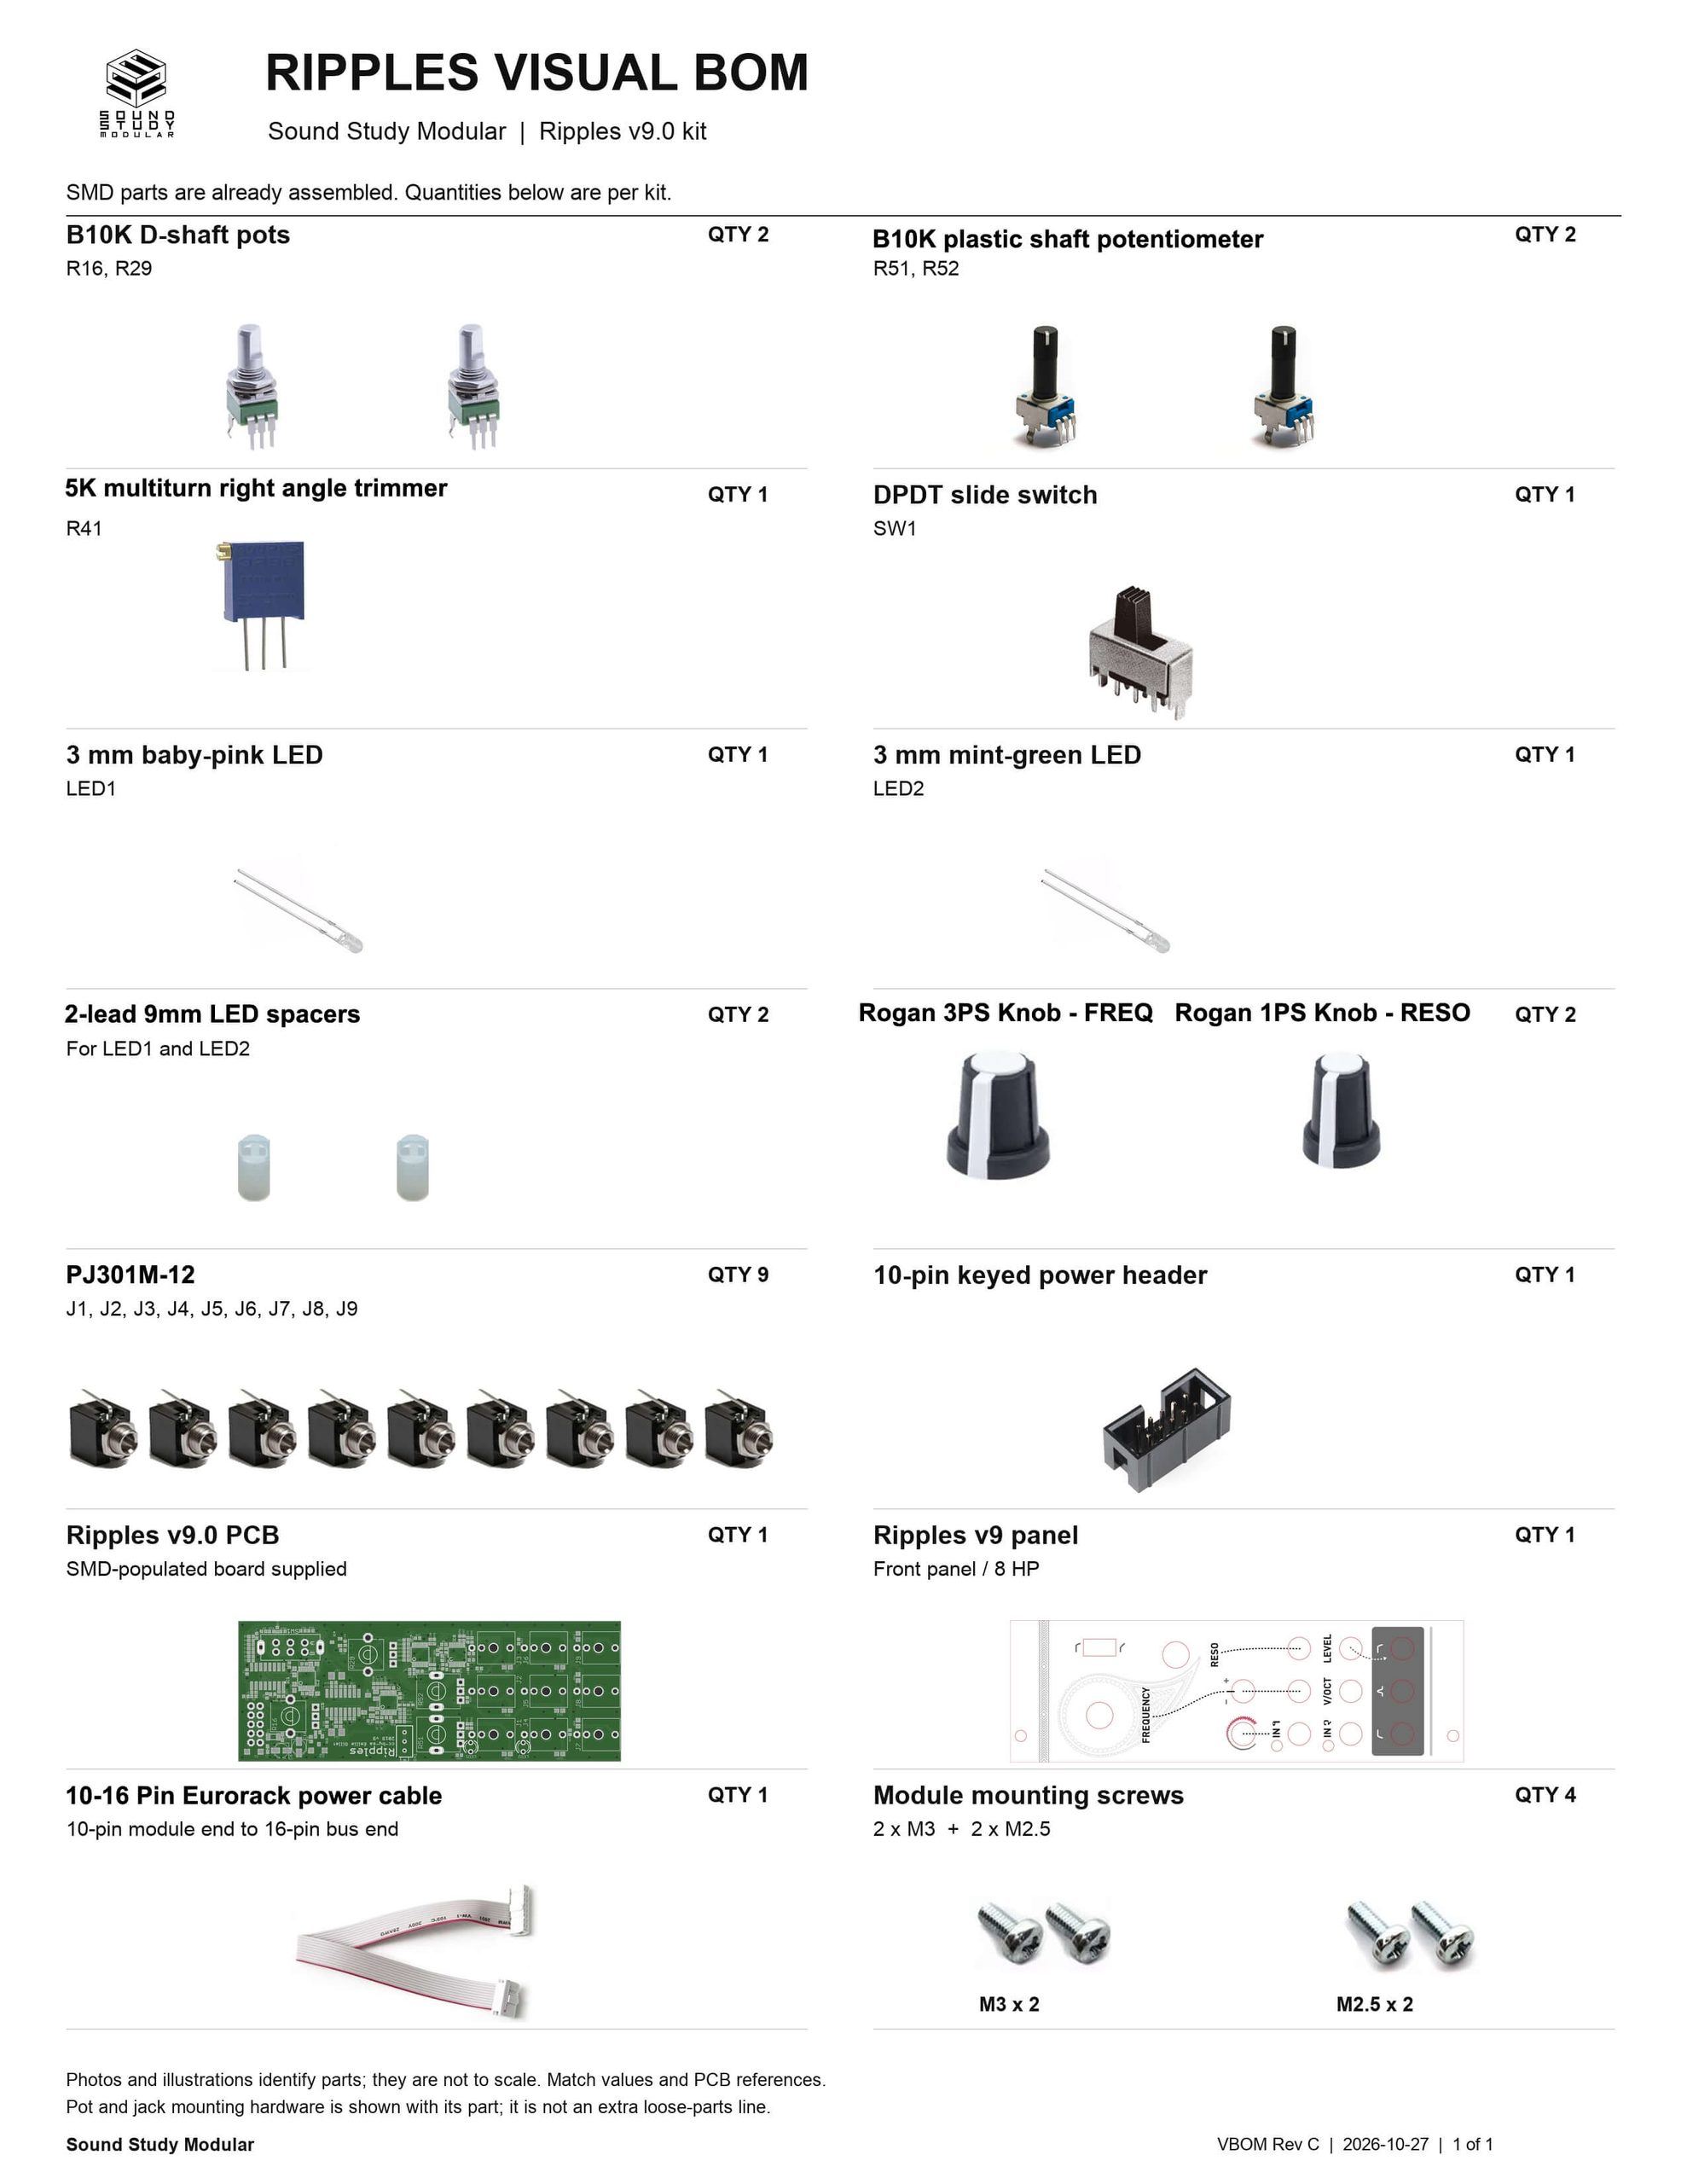
Trimmer
Install side-mount trimmer into PCB as shown. Turn it over and trim excess leads.

LEDs
Place the 9mm spacers onto the LED leads. Then place them into the PCB: pink top, green bottom. Align the cathode (shorter lead, flat side) toward the closest side of the PCB, as shown below.


Jacks
Place the jacks into the PCB as shown below. Carefully turn the project over to solder in place. You can use the panel to ensure the jacks stay aligned.

Slide Switch
Place the slide-switch into the PCB as shown below. It goes in either way. Make sure it is laying flat against the PCB, then carefully turn the project over to solder in place.

Power Header
Place the 10-pin power header on the rear of the board exactly as shown below, with the notch aligned with the notch in the silkscreen. Carefully turn over and solder in place.

Potentiometers
Place all of the pots into the PCB as shown below for the Ripples Eurorack Module. Carefully turn the project over to solder in place. Again, you can use the panel to make sure that the pots all stay in place.

Panel
Place the panel over the project carefully.

Place the panel over the project. Gently tighten (not too much!) the pot and jack nuts.

Now place the Rogan knobs on the D-shaft Pots. You are now ready to test your module! Plug it in and make sure it’s working ok, then proceed to the calibration instructions.

V/O Calibration Procedure
- Set the FREQ knob to 10 o’clock (exact position does not matter).
- Set the RES knob to its maximum position. Disconnect any input signal or FM modulation CV.
- Connect the note CV output of a well-calibrated keyboard interface or MIDI-CV converter to the V/OCT input.
- Listen to the tone at the low-pass output.
- Adjust the trimmer resistor on the side of the circuit board until the musical intervals played on the keyboard are correctly reproduced (actual note values do not matter, but when playing an octave, it must sound like an octave).
The filter is designed to track well over 4 octaves, but is not temperature-stabilized.